Let’s be honest: adults love crafting just as much as kids — we just like to pretend it’s “for the house” or “for the party.” The truth? Sitting down with a hot drink, some ribbon, and a glue gun can be the most relaxing part of the season. And when the result looks chic (not childish), you get the joy of crafting without ending up with something that feels like it belongs in preschool.
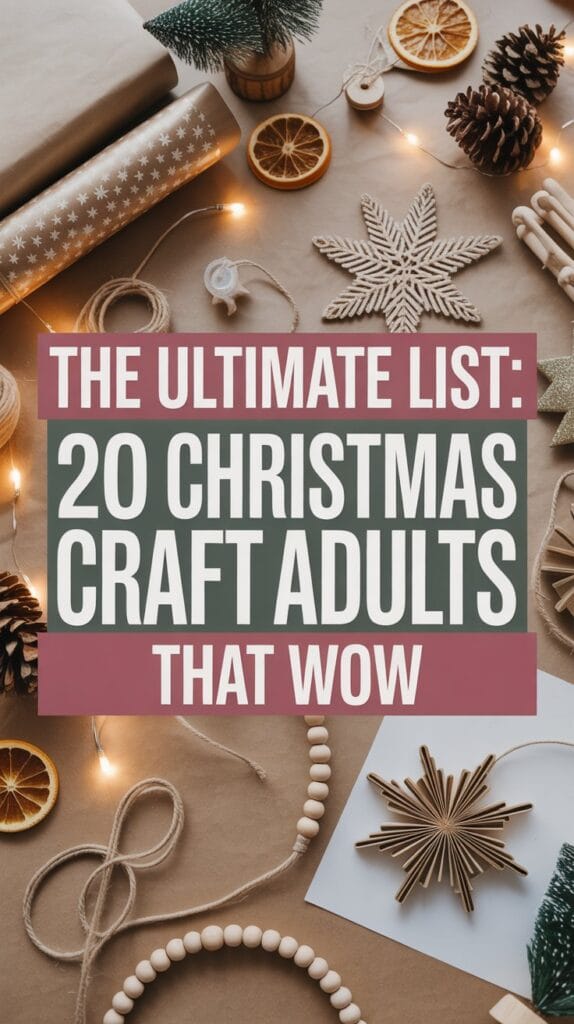
Here are 20 Christmas crafts for adults that are stylish, fun, and perfect whether you’re making gifts, hosting a gathering, or just sneaking in some me-time.
1. Minimalist Wreaths
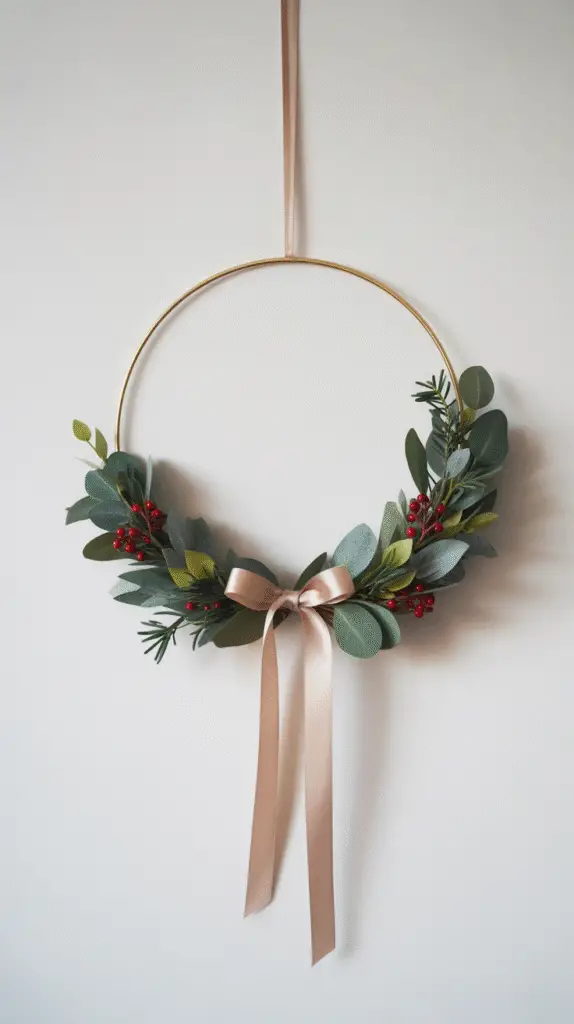
Here’s the truth: a wreath doesn’t have to be full or fussy to look beautiful. When you leave a little negative space, your door instantly feels more modern, curated, and timeless—especially on a small front porch. Think slim hoop, a soft arc of greens, one or two pretty stems, and a ribbon you adore. That’s it. Simple, elegant, and completely you.
What you’ll need (keep it light):
- 1 metal or wooden hoop (8″, 12″, or 16″; choose scale to your door)
- A small bundle of greenery (eucalyptus, olive, or cedar)
- A few “hero” stems (dried roses, preserved hydrangea, baby’s breath, or seasonal picks)
- Floral wire (thin gauge) and/or clear fishing line
- Floral tape (optional)
- Ribbon or twine (silk, velvet, linen—your vibe)
- Wire cutters + scissors
- Optional: hot glue gun for stubborn pieces, clear matte sealer for outdoor protection
Before you start (set your style):
Pick a color story so everything feels intentional. For vintage charm, try:
- Soft sage + ivory + antique gold
- Dusty rose + taupe + cream
- Evergreen + linen + brass
Decide which third of the hoop you’ll decorate (the 10–2 o’clock arc is classic). Minimalist wreaths look best when ⅔ of the hoop is left bare.
Step by step (the easy, pretty way):
- Prep the hoop
Wipe it clean. If it’s too shiny, wrap a small section with linen ribbon or raffia for texture. This also gives your wire something to grip. - Build the base greens
Trim greenery into 4–6” pieces. Lay the first stem along the hoop’s curve and secure the stem with a tight twist of floral wire. Overlap the next stem so it hides the previous wire. Keep stems pointing in the same direction to create a smooth, airy arc. - Layer texture
Tuck in a second greenery (or a feathery filler like asparagus fern) for dimension. Use small wire ties or floral tape. Keep it light—this is minimalist, not a hedge. - Add your “hero” moments
Place 1–3 focal blooms or dried elements (rose head, mini hydrangea, dried lunaria, or a few sprigs of baby’s breath). Cluster them off-center where your greens feel the fullest. Secure discreetly with wire or a dot of hot glue. - Finish with ribbon
Tie a slim bow or a single long tail where the greens begin or end. Velvet feels cozy in fall/winter; silk or gauze ribbon feels airy in spring/summer. Trim tails on a diagonal for a clean finish. - Fluff + balance
Hold the wreath at arm’s length. If one side feels heavy, remove a stem or add a tiny sprig to the lighter side. Minimalist is all about balance and breathing room. - Weather-ready tweak (optional)
If your porch gets sun or wind, give dried elements a light mist of clear matte UV sealer. For high exposure, swap to high-quality faux stems—they’ll still look refined and last all season.
Pro styling for small porches:
- Hang it a touch higher than eye level so the negative space reads beautifully from the street.
- Pair with one slim lantern or a single planter—no clutter; let the wreath be the star.
- If you have a mail slot or vintage mailbox, echo the ribbon color there for a pulled-together look.
Seasonal swaps (one hoop, year-round):
- Spring: eucalyptus + baby’s breath + silk ribbon in blush.
- Summer: olive + dried lavender + flax linen tie.
- Fall: seeded eucalyptus + mini dried oranges + velvet ribbon in rust.
- Winter: cedar + pinecones (tiny) + narrow plaid tail.
Common mistakes to avoid:
- Overfilling the arc (if you cover half the hoop, it stops feeling minimalist).
- Using thick, shiny wire you can see—choose thin gauge or clear line.
- Heavy flowers at the very bottom without a counterpoint—it will tilt. Anchor them closer to the side of the arc.
Where to find materials (fast + realistic):
- Hoops & wire: craft stores, floral suppliers, or the wedding aisle (metal hoops are everywhere).
- Greens & stems: farmers’ markets (fresh to press/dry), floral wholesalers, or quality faux from craft stores.
- Ribbon: fabric shops, Etsy (silk/velvet hand-dyed), or trim sections at big-box craft stores.
- Tools: any craft aisle—grab small wire cutters and thin floral wire.
Time, cost, skill: about 25–40 minutes, low cost, beginner-friendly.
Why it works: negative space + soft texture = instant vintage elegance that doesn’t overwhelm a small front porch.
2. Candle Centerpieces
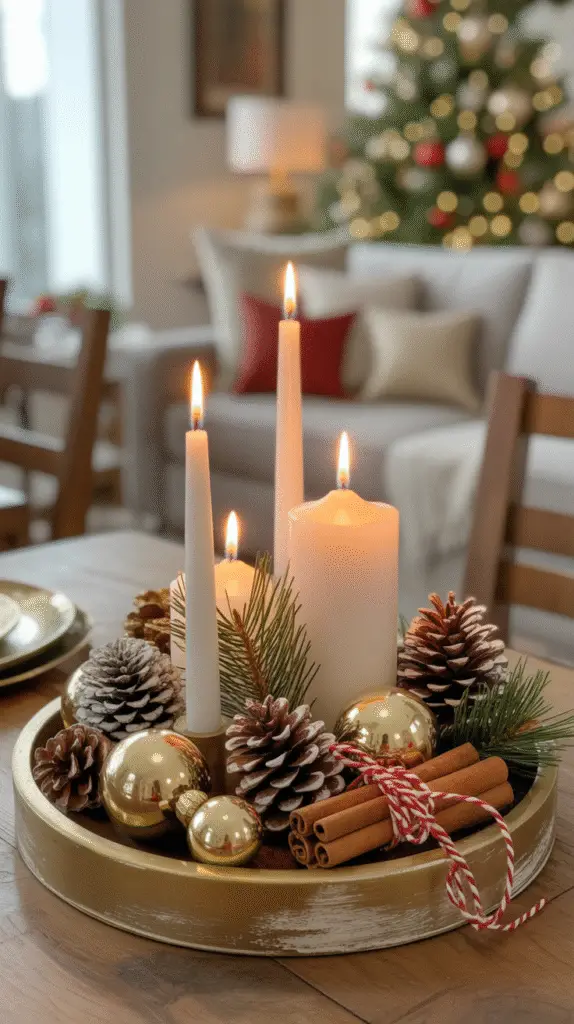
Nothing makes a small porch feel instantly magical like the flicker of candlelight. A candle centerpiece is one of those simple, timeless touches that can completely change the mood of your entryway. Whether you’re setting the tone for cozy fall evenings, festive holidays, or just a slow weekend moment, candles bring that soft glow that feels inviting and romantic without trying too hard.
What you’ll need (keep it charming, not complicated):
- Assorted glass jars, lanterns, or vintage candlesticks
- Pillar candles, tea lights, or battery-operated LED versions (if you need safety)
- A tray or wooden board for layering
- Seasonal fillers: dried flowers, eucalyptus sprigs, pinecones, or even citrus slices
- Optional: lace doilies, small mirrors, or a vintage cake stand as a base
Step by step (cozy layering made easy):
- Choose your base
Start with something sturdy like a rustic wooden tray, an enamel pan, or a thrifted metal tray. This will ground the centerpiece and keep things from looking scattered. - Arrange the candles
Place your tallest candle in the center or toward the back. Add medium and smaller candles around it. If you’re using jars, mix heights for a relaxed, collected-over-time look. - Add vintage details
Slip a lace doily under the tray, or set the candles on top of an old mirror for extra glow. You can even use mismatched brass candlesticks for that true grandmacore charm. - Tuck in seasonal accents
For fall: dried leaves, acorns, and cinnamon sticks.
For winter: pinecones, holly, or faux snow.
For spring/summer: pressed flowers, eucalyptus, or slices of dried orange. - Finish with texture
Wrap twine or velvet ribbon around one jar, scatter petals around the tray, or let one element (like a sprig of rosemary) hang loosely for a lived-in vibe.
Pro styling for small porches:
- Use battery-operated candles if your porch is exposed to wind—no one wants melted wax everywhere.
- Keep scale in mind: if your porch is very narrow, choose 3–5 candles max so it doesn’t overwhelm.
- Place your centerpiece on a small side table, stool, or crate near the seating area so the glow greets guests as they walk in.
Where to find materials:
- Candles & lanterns: Dollar Tree, Ikea, or thrift stores.
- Vintage trays & candlesticks: flea markets, Etsy, or secondhand shops.
- Seasonal fillers: forage in your garden, local craft store, or dried bouquets from farmers’ markets.
✨ Why it works: candle centerpieces are budget-friendly, endlessly customizable, and they give your small porch a warm, vintage heartbeat that feels personal every time you light them.Arrange pillar candles in trays with pinecones, ornaments, or cinnamon sticks. Simple and elegant — a top choice for Christmas party crafts that wow guests.
3. Fabric Gift Bags
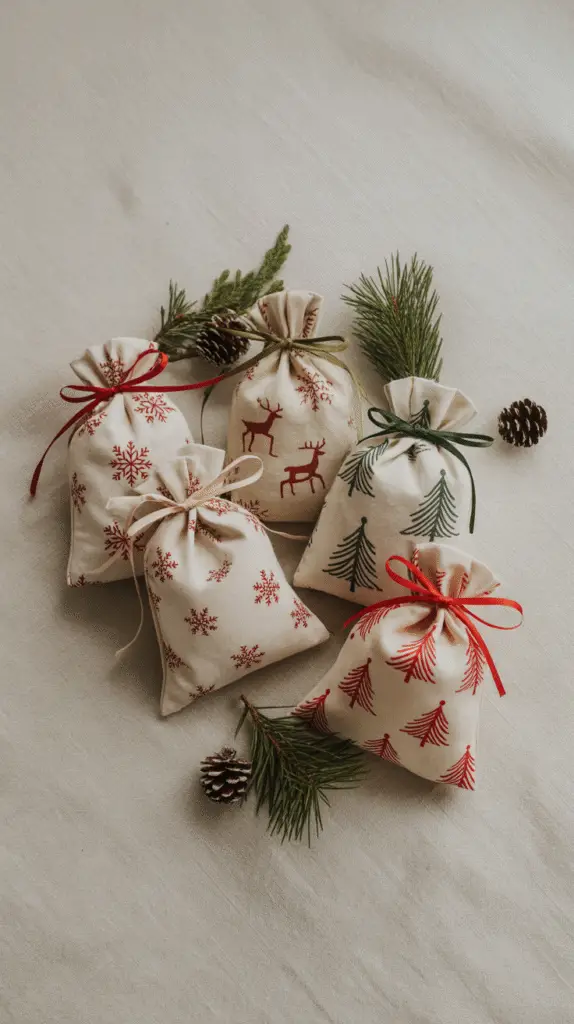
Wrapping a gift in fabric feels so much more thoughtful than store-bought paper. Fabric gift bags carry a cozy, handmade charm and give that vintage “granny’s sewing room” vibe that’s both sustainable and stylish. Instead of tossing wrapping paper, your guest gets a little keepsake they can reuse for storage, décor, or to wrap another gift. It’s a small touch that feels big.
What you’ll need (easy, budget-friendly):
- Fabric scraps (cotton, linen, calico, or even old pillowcases)
- Ribbon, lace, or twine for ties
- Scissors + sewing machine (or needle and thread if hand-stitching)
- Pins or clips to hold fabric in place
- Optional: iron-on patches, embroidery floss, or vintage buttons for embellishments
Step by step (so simple anyone can do it):
- Choose your fabric
Go for soft cottons or linens in vintage prints—florals, checks, or muted solids work beautifully. If you’re repurposing, old tablecloths or pillowcases make amazing fabric bags. - Cut your rectangles
For small bags, cut fabric about 10×12 inches. For medium, try 14×18. Adjust based on what you’ll put inside. - Sew the sides
Fold fabric in half (right sides together). Sew along the two sides, leaving the top open. Use a simple straight stitch. If you don’t sew, fabric glue can actually hold for light use. - Create the hem
Fold the top edge over twice (about ½ inch each fold), press with an iron, and stitch around to finish the edge neatly. This keeps it from fraying. - Add the ties
Thread ribbon, lace, or twine through the hem or simply tie it around the top after folding it down. For extra charm, use velvet ribbon for winter or gingham for spring/summer gifting. - Decorate (optional but fun)
Hand-embroider initials, stitch on a vintage button, or glue a lace applique for personality. A pressed flower card slipped inside takes it up a notch.
Pro styling tips for small porches:
- If you’re styling them as décor, line fabric bags in a basket by the door—they look adorable stuffed with pinecones, dried flowers, or wrapped soaps.
- For holidays, choose seasonal fabrics (red gingham for Christmas, soft florals for spring).
- Don’t overfill; fabric bags look their best when softly tied and slightly “slouchy.”
Where to find materials:
- Fabric scraps: your own stash, thrifted sheets, or fat quarters from craft stores.
- Ribbons & lace: thrift shops, Etsy, or repurposed from old clothing.
- Sewing supplies: any craft store or Amazon basics kits.
✨ Why it works: Fabric gift bags are sustainable, incredibly easy to personalize, and they fit the vintage cottage aesthetic perfectly. Plus, they double as porch décor when styled in a basket or hanging on a rustic hook.Sew reusable fabric bags with holiday prints. Not only are they chic, but they count as eco-friendly Christmas sewing projects you’ll use year after year.
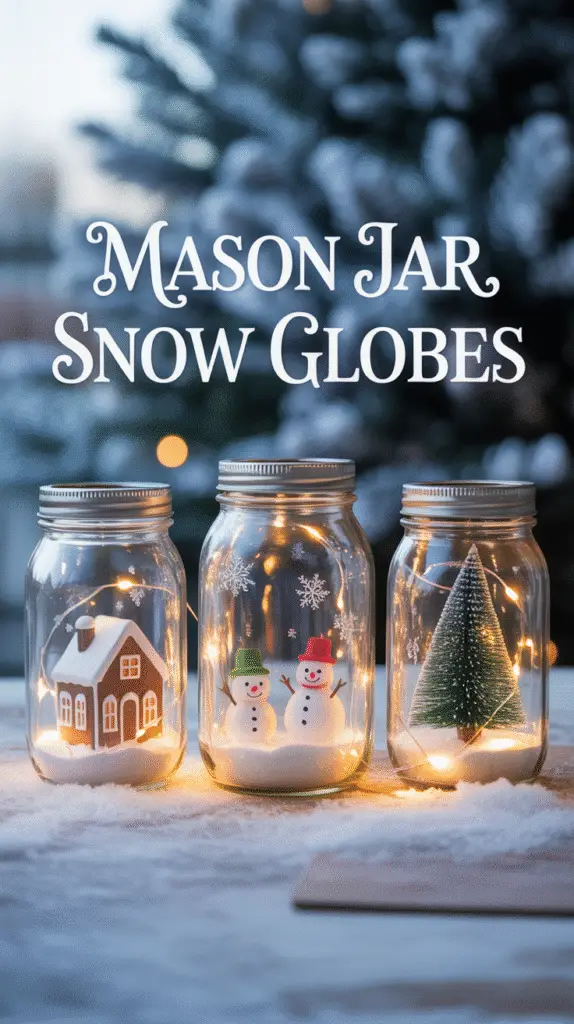
4. Mason Jar Snow Globes
A little glitter, water, and tiny figurines inside a jar = instant winter magic. Affordable and easy, these are classic dollar store Christmas crafts.
5. Beaded Garland
Swap paper chains for beads, wood, or felt balls strung together. It’s simple but looks boutique-level chic.

6. Embroidered Ornaments
Stitch stars, trees, or initials onto felt or linen. A perfect blend of handmade Christmas crafts and chic décor.
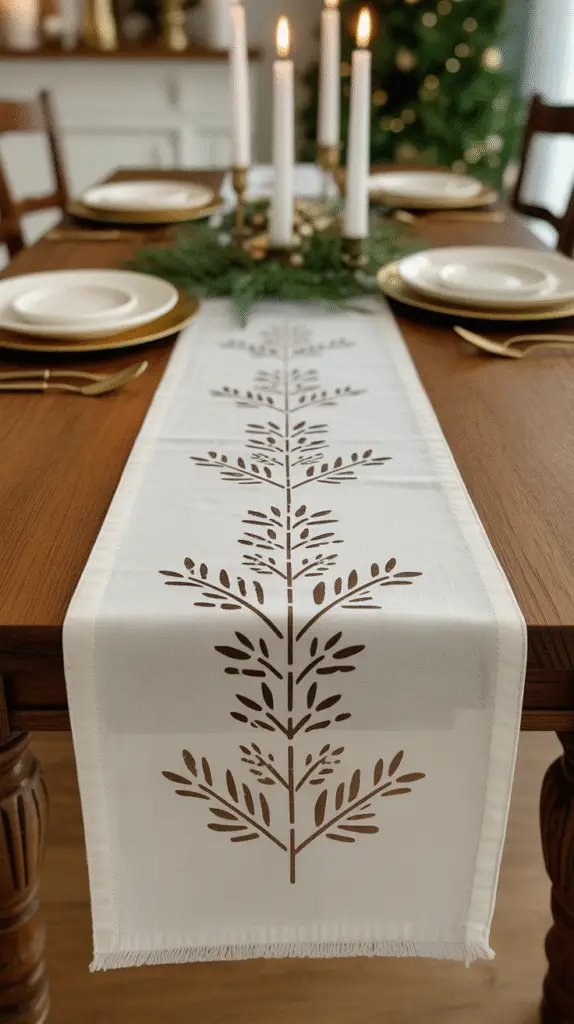
7. Holiday Table Runners
Sew or paint your own runner using stencils. It adds a personal, stylish touch to the table while doubling as an easy holiday craft.
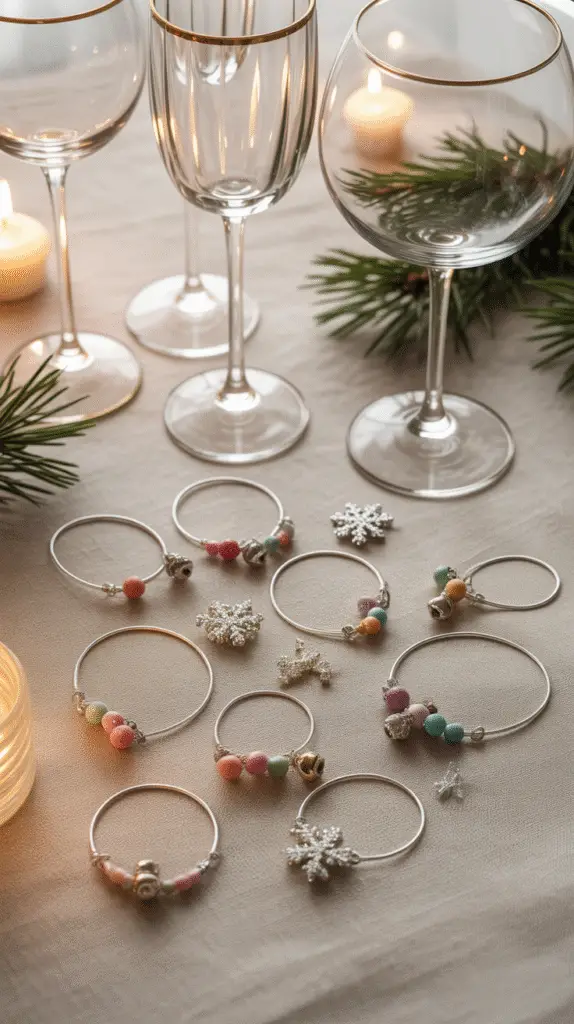
8. Wine Glass Charms
Craft charms from wire, beads, or small ornaments so guests can identify their glasses. Stylish and practical for any Christmas party craft setup.
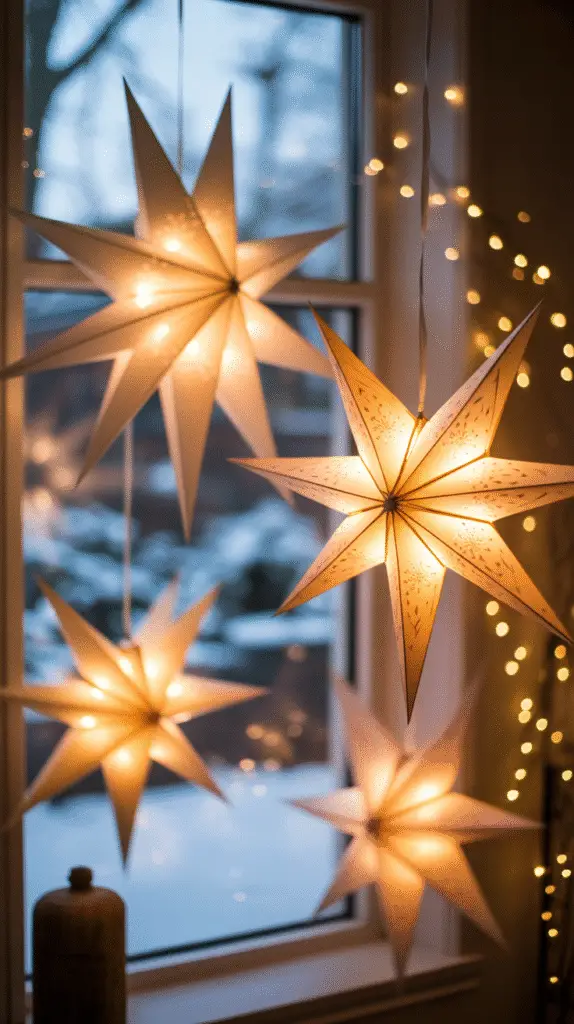
9. Paper Star Lanterns
Fold heavy paper into stars, poke tiny holes, and place battery lights inside. They look magical in windows and are budget-friendly Christmas crafts to make.
10. Dried Orange Garlands
Slice oranges, bake them until dry, and string them with twine. The smell alone feels like handmade Christmas crafts, and they give a rustic chic vibe.
11. Personalized Stockings
Add embroidery or fabric paint to plain stockings. They’re simple Christmas sewing projects that instantly become family keepsakes.
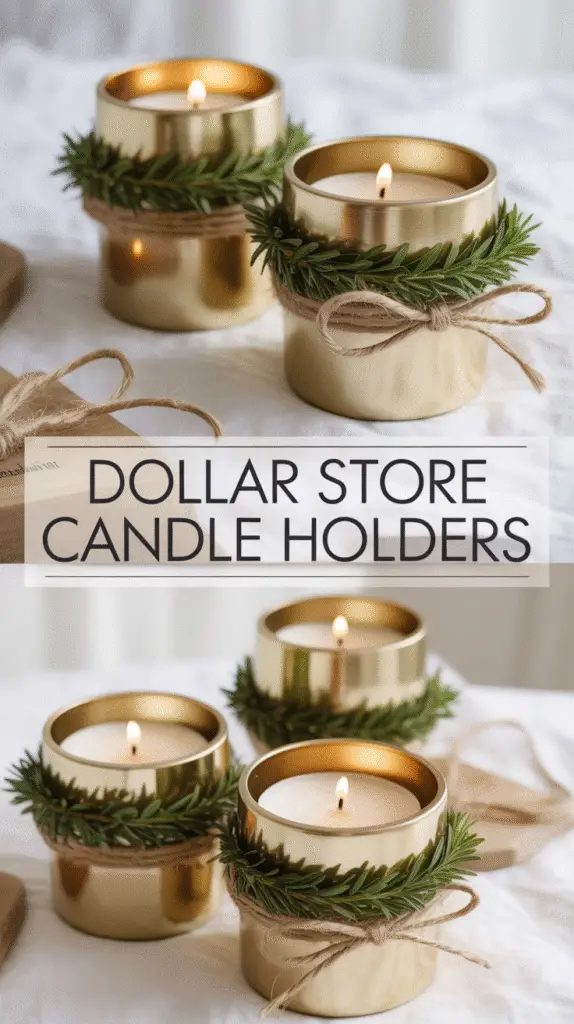
12. Dollar Store Candle Holders
Spray paint cheap glass holders gold or silver, then decorate with twine or greenery. These dollar store Christmas crafts look high-end on a low budget.
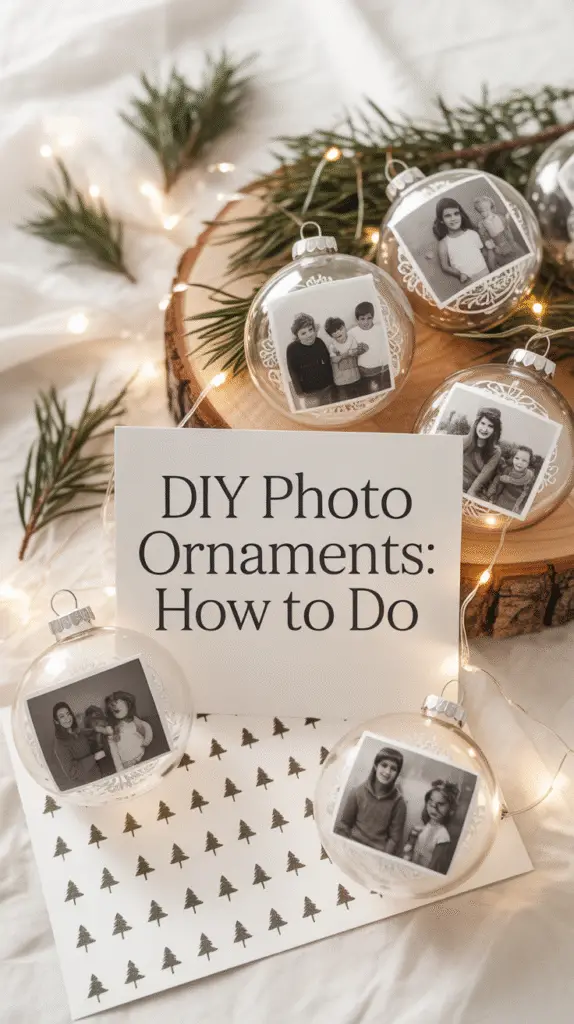
13. Photo Ornaments
Print black-and-white photos, frame them in clear ornaments, and hang on the tree. It’s personal, stylish, and one of those Christmas crafts to sell at fairs.
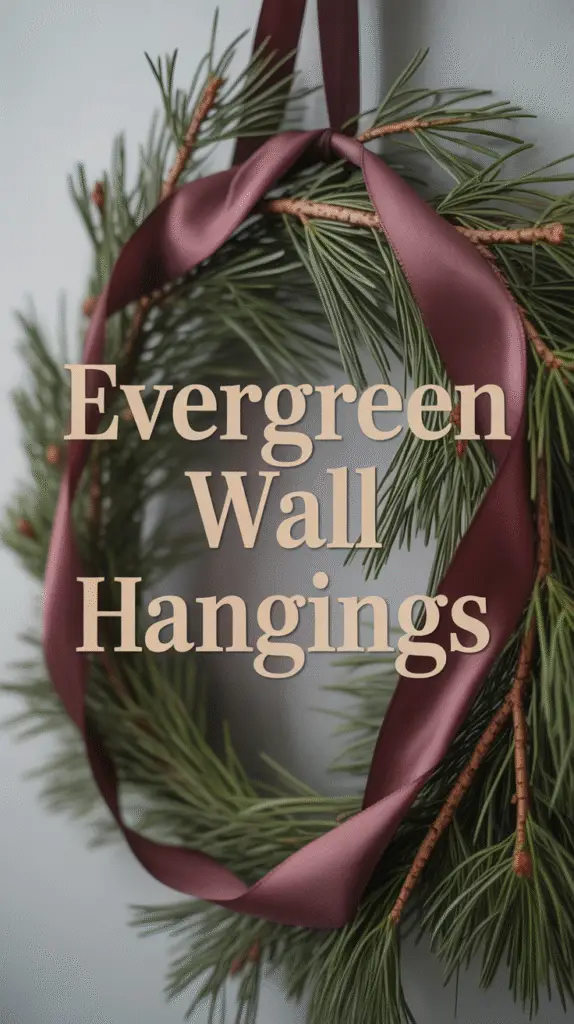
14. Evergreen Wall Hangings
Tie branches, ribbon, and ornaments to a wooden dowel. A chic alternative to a wreath, perfect for small spaces.
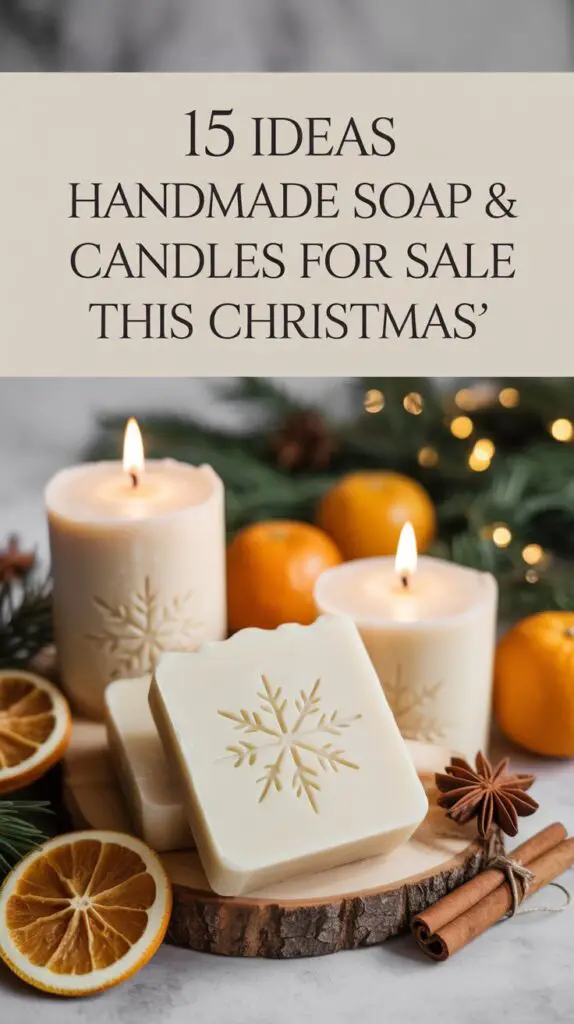
15. Handmade Soap or Candles
Whip up scented soaps or candles with cinnamon or peppermint. Beautiful, useful, and ideal Christmas crafts to sell or gift.
16. Napkin Rings
Wrap wire, greenery, and berries around napkins. Adds instant chic style to your table — another easy win for Christmas party crafts.
17. Quilted Ornaments
Patchwork fabric ornaments let you use scraps and make chic décor. One of the coziest Christmas sewing projects you’ll try.
18. Painted Wooden Signs
Use reclaimed wood, paint, and stencils to create festive signs with sayings like “Joy” or “Merry & Bright.” Classic, rustic, and Pinterest-worthy.
19. Bath Salts in Jars
Mix epsom salt with essential oils and holiday colors. They look luxe, smell amazing, and are perfect handmade Christmas crafts for gifting.
20. Chic Advent Calendar
Use small boxes, envelopes, or fabric pouches hung on a board. Fill them with treats or notes. A DIY project that blends style and tradition — truly one of those Christmas crafts for adults that becomes a centerpiece.
Final Thoughts
Crafting doesn’t stop when you grow up — it just gets a little more stylish. These Christmas crafts for adults prove that you can enjoy creativity without ending up with something that looks like it belongs in a kindergarten classroom. From dollar store Christmas crafts that look high-end to cozy Christmas sewing projects and thoughtful handmade Christmas crafts, these ideas fit any style.
So whether you’re planning family Christmas crafts, prepping for a big party, or making Christmas crafts to sell, pick a few projects, pour a glass of wine (or cocoa), and let the season’s creativity take over. Because chic doesn’t have to mean complicated — sometimes the best easy holiday crafts are the ones that bring the most joy.