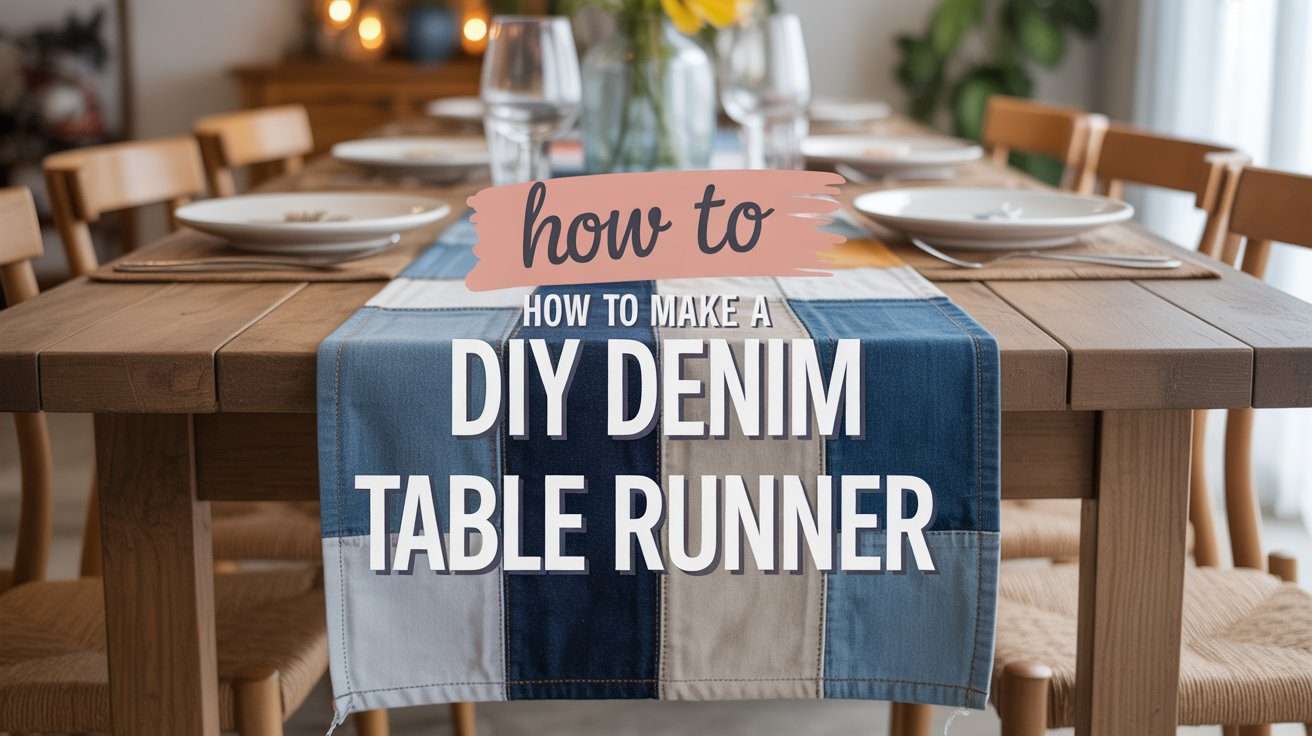
Why I Love This Denim Table Runner
If you have old jeans sitting in a drawer, this is one of the easiest ways to turn them into something actually useful. This denim table runner is sturdy, beginner-friendly, and looks surprisingly modern on a dining table—especially if you mix light + dark denim.
This DIY denim table runner is part of a larger denim upcycling series.
If you enjoy sewing with old jeans, make sure to check my main guide, 15 best blue jeans craft ideas, where I share the most popular and practical denim projects in one place.
(Tip: this project is perfect for “scrap sewing” too, because you can piece together small denim sections.)
Supplies You’ll Need
- Old jeans (2–3 pairs is usually enough)
- Fabric scissors or rotary cutter + cutting mat
- Ruler or measuring tape
- Sewing machine (or hand sewing needle)
- Matching thread (or contrast thread for a rustic look)
- Pins or clips
- Iron
Optional (but helpful)
- Fusible interfacing (for extra structure)
- Lightweight lining fabric (cotton or linen)
- Fabric glue (for quick finishing)
Measurements (Choose Your Size)
Pick the size based on your table. These are common runner sizes:
Standard sizes
- 14″ x 72″ (36 x 183 cm) — classic long runner
- 12″ x 60″ (30 x 152 cm) — great for small tables
- 16″ x 80″ (41 x 203 cm) — wide + dramatic
Add seam allowance
Add ½” (1.3 cm) seam allowance on all sides.
So if you want a 14″ x 72″ finished runner, cut fabric closer to:
- 15″ x 73″ (38 x 185 cm)
Step 1: Prep the Denim
- Cut open the jeans and remove thick seams (especially the side seams).
- Iron the denim flat so it’s easy to measure and cut.
- Sort pieces by color (light, medium, dark) if you want a nice “striped” look.
Step 2: Cut Your Denim Pieces
You have 2 easy layout options:
Option A — Simple one-piece look
Cut large denim panels and stitch them together lengthwise until you reach your runner length.
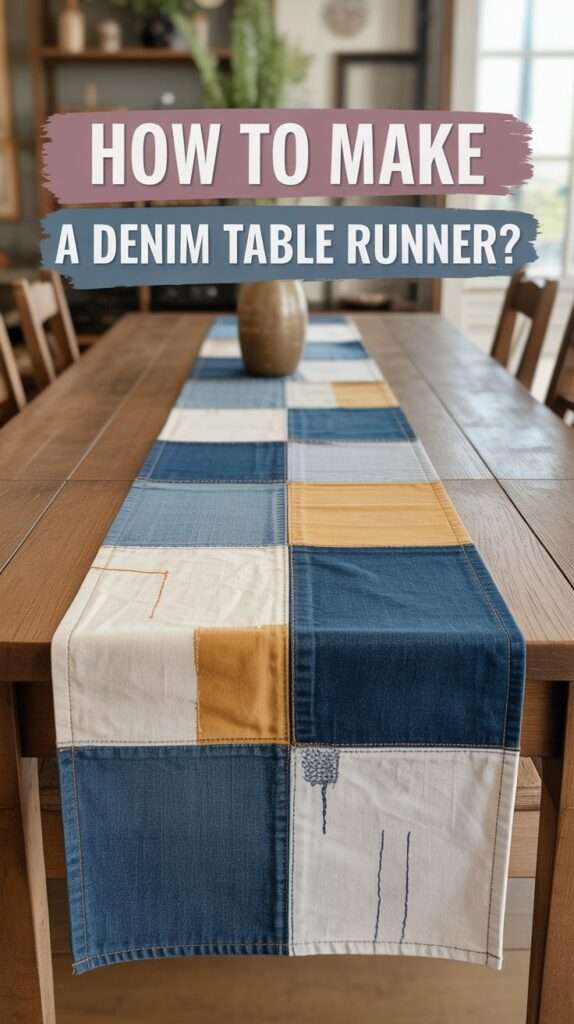
Option B — Scrap-style patchwork (my favorite)
Cut strips like:
- 3″–5″ wide (7.5–12.5 cm)
Mix different denim shades for that high-end “upcycled” look.
Step 3: Sew the Top Together
- Place denim pieces right sides together.
- Sew with a ½” (1.3 cm) seam allowance.
- Press seams open (or to one side).
- Topstitch along the seams if you want a clean, professional finish.
Step 4: Add Backing (Recommended)
Backing makes the runner look finished and helps it lay flat.
- Cut backing fabric the same size as your denim top.
- Place right sides together.
- Sew around the edges, leaving a 4″ gap to turn it right-side out.
- Turn, press, and stitch the opening closed.
- Topstitch around the border for a crisp edge.
(No quilting needed. This is a clean sewing finish.)
Optional: Add Light Quilting Lines (Only If You Want)
If you want a “quilted look” without full quilting:
- add a few straight lines down the runner, spaced 2″–3″ apart (5–7.5 cm)
But again: totally optional.
Finishing Touch Ideas (Make It Look Expensive)
- Add frayed edges (pull a few threads for a rustic fringe)
- Sew a simple pocket on one end (cute place for napkins)
- Add a small tag: “made from old jeans”
- Use contrast topstitching (looks designer)
Quick Tips for Beginners
- Denim is thick—use a denim needle (size 90/14 or 100/16) if you have one.
- Go slow over bulky spots.
- Pressing seams makes everything look more professional.
Save This Denim DIY for Later
If you love upcycling projects, this runner is one of the easiest “wow” results you can make from old jeans, make sure to check my main guide15 Best Blue Jeans Craft Idea