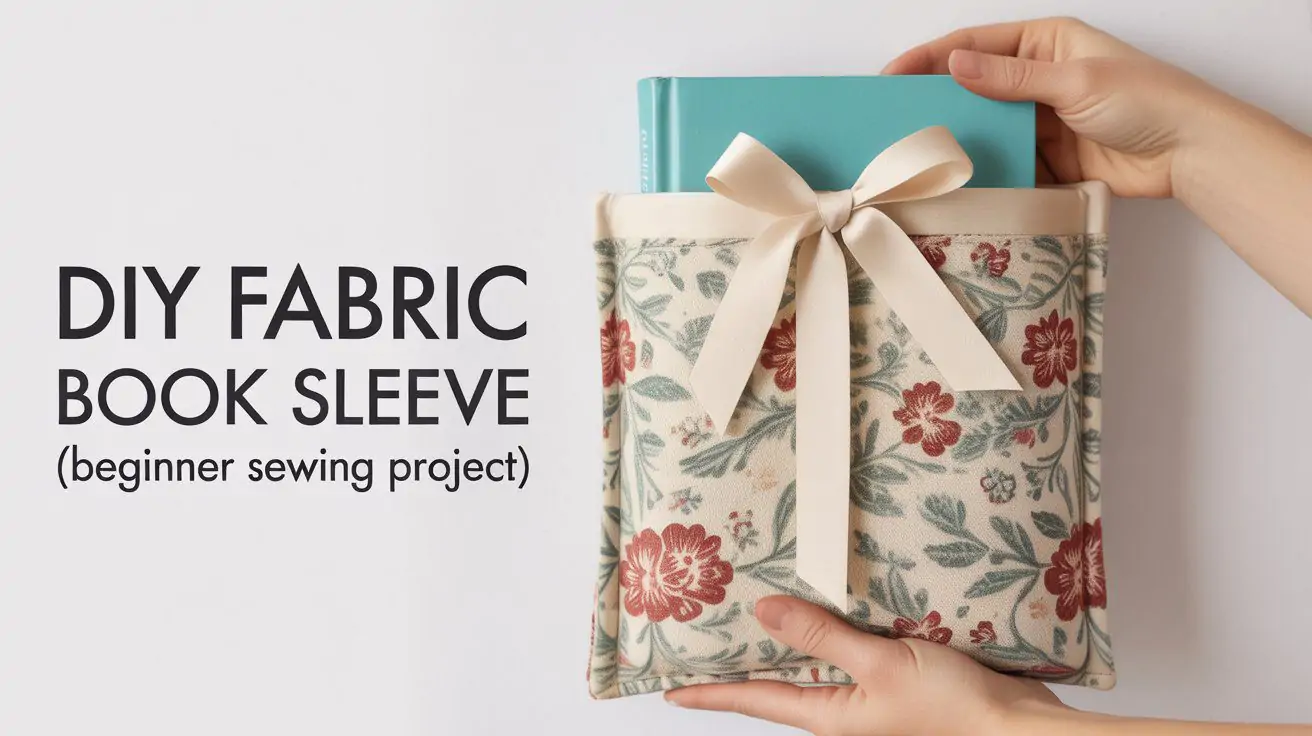
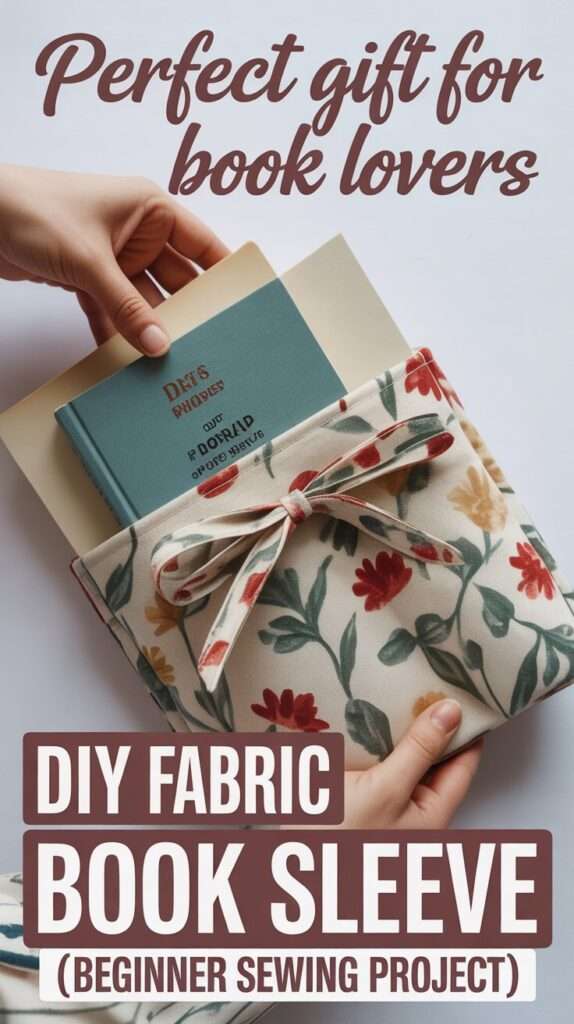
If you love reading and sewing, a fabric book sleeve is one of the most practical projects you can make. It protects your books inside bags, backpacks, or totes — and it’s a perfect beginner sewing project using fabric scraps.
This tutorial shows how to sew a simple, padded fabric book sleeve, even if you’re new to sewing.
Why Make a Fabric Book Sleeve?
- Uses small fabric scraps
- Beginner-friendly (straight seams only)
- Great handmade gift idea
- Protects books from bending and spills
- Easy to customize for different book sizes
Materials You’ll Need
- Fabric scraps (cotton works best)
- Lightweight batting or fusible fleece
- Thread
- Scissors or rotary cutter
- Ruler
- Sewing machine
- Iron
👉 Lightweight batting adds protection without making the sleeve bulky.
Cutting Measurements (Adjustable)
For a standard paperback book:
- Outer fabric: 10” x 18”
- Lining fabric: 10” x 18”
- Batting: 10” x 18”
💡 Tip: Always measure your book first and add:
- 1” width
- 2” height
Step-by-Step: How to Sew a Book Sleeve
1. Layer the fabrics
Place the outer fabric right side down, batting in the middle, and lining fabric right side up.
👉 Use fabric clips instead of pins to keep layers aligned.
2. Sew around the edges
Sew around the rectangle using a ¼” seam allowance, leaving a small opening for turning.
👉 Sew slowly — thick layers feed better at a steady pace.
3. Turn and press
Turn the sleeve right side out through the opening and press well with an iron.
👉 Pressing makes the final shape look professional.
4. Close the opening
Topstitch close to the edge to close the opening and give the sleeve a clean finish.
👉 Topstitching also helps keep layers from shifting.
6. Fold and stitch
Fold the rectangle in half (lining sides together) and stitch the sides to form the sleeve pocket.
👉 Backstitch at the top edges for extra durability.
Optional Variations
You can easily customize this project:
- Add a fabric tie or ribbon
- Make a flap closure
- Use patchwork scraps for the outer layer
- Add quilting lines (optional, not required)
Beginner Tips for Best Results
- Use cotton fabric for easier sewing
- Press after every step
- Trim bulky corners before turning
- Test the fit with your book before final stitching
Perfect Scrap Sewing Project
This fabric book sleeve pairs beautifully with other scrap projects like:
- Fabric scrap bookmarks
- Small fabric pouches
- Needle cases
- Mug rugs
👉 See more ideas: Scrap Sewing Projects (No Quilting)
Final Thoughts
A DIY fabric book sleeve is a satisfying beginner project that combines function, creativity, and sustainability.
Once you make one, you’ll want to sew several — for yourself or as thoughtful handmade gift.