Sometimes you just need a craft that slows everything down — something quiet, pretty, and easy enough to make in one sitting. Pressed flower bookmarks are exactly that. They’re delicate, personal, and they make your books feel like part of a garden. And honestly? They’re surprisingly beginner-friendly. If you’ve never worked with pressed flowers before, this is the perfect place to start.
Quick Steps (Read This in 30 Seconds)
- Laminate and add a ribbon if desired
- Arrange the pressed flowers (dry test first)
- Glue the flowers lightly onto the paper
- Let everything dry completely
- Cut the bookmark to size (about 2 × 6 inches)
Best Flowers for Pressed Flower Bookmarks
Before we start, here’s a quick tip: choosing the right flowers makes a big difference. Some flowers press beautifully and keep their color, while others don’t work well for bookmarks. Some flowers work better than others when pressed:
- Daisies
- Ferns
- Baby’s breath
- Lavender
- Cosmos
- Pansies
Avoid thick or moist flowers, as they may darken over time.
What You Need to Get Started
Before you dive in, gather a few basics so the process flows easily. You’ll need pressed flowers (thin ones work best), clear-drying glue or Mod Podge, cardstock or watercolor paper, a wide soft brush, and a lamination layer — either a self-adhesive laminate sheet or a thermal laminator. Scissors and a small pair of tweezers will help you place the flowers without tearing them. Keep everything close; this project feels smoother when your workspace is organized.
- Dried Flower
- Cardstock or watercolor paper
- Clear-drying glue (Mod Podge or craft glue)
- Tweezers
- Laminating sheets or laminator with pouches
- Ribbon or twine (optional)
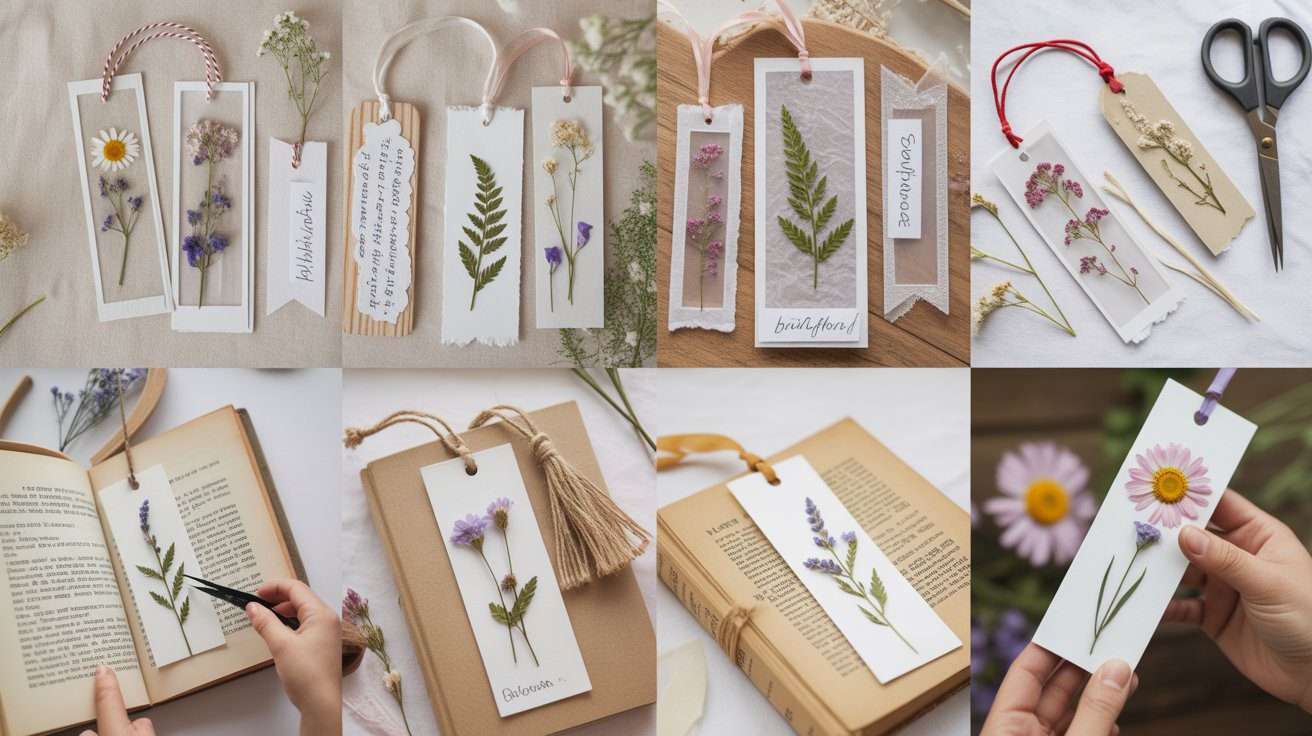
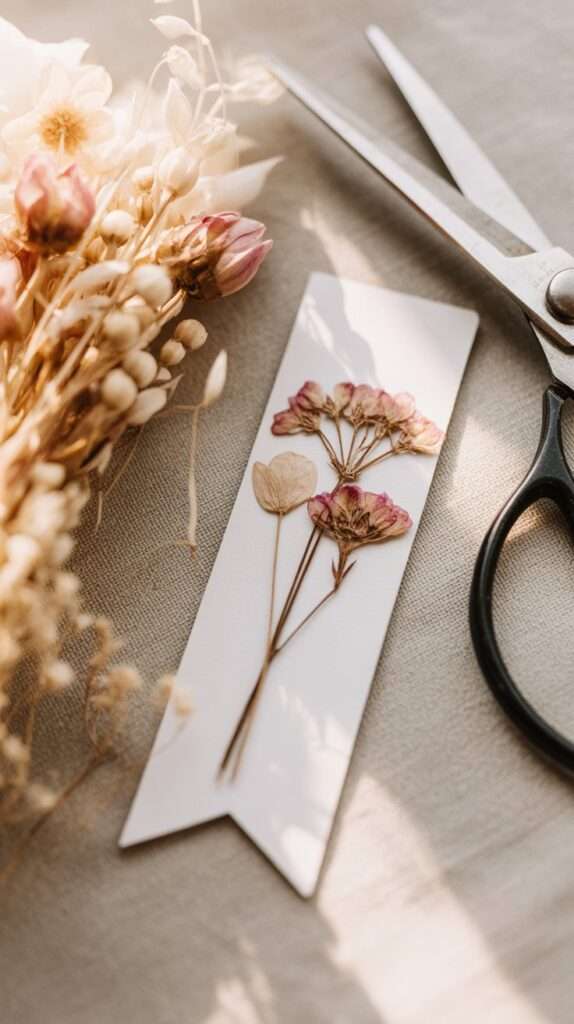
1. Arrange the Flowers
Arranging the flowers is where the bookmark starts to feel personal. Some people go minimalist with a single stem; others create tiny bouquets along the edges. There’s no wrong choice, but the trick is placing everything before adding glue. Move the petals around lightly with tweezers until the layout feels balanced. If a flower is too thick, gently peel off the back layer to make it flatter — this helps the lamination seal perfectly later.
2. Glue the Flowers
Once you love your layout, it’s time to seal. Use a soft brush to apply a thin, even layer of clear glue on the paper — not on the flowers yet. Press each flower into place, then brush a feather-light layer on top just to secure them. Don’t worry if the petals look slightly cloudy; they dry beautifully clear. Let everything dry completely before moving on. When the glue sets, cut the bookmark to your preferred size (around 2×6 inches looks clean).
3. Laminate for Durability
Laminating protects the flowers and keeps the bookmark from bending.
You can use:
- Self-adhesive laminating sheets
- A laminator with pouches for a smoother finish
Trim the excess laminate, leaving a small clear border.
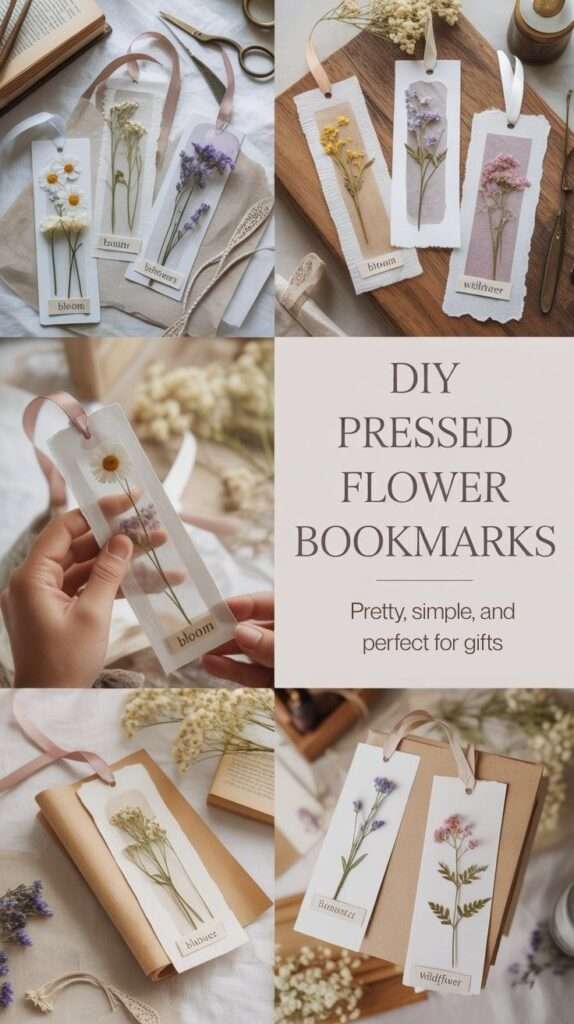
Pressed Flower Bookmark Ideas
One of my favorite ways to create pressed flower bookmarks is to paint the paper before adding the flowers. This simple step instantly brings my personality into the project. I love how watercolor washes, soft brush strokes, and imperfect textures turn each bookmark into a tiny piece of art, not just a craft. For me, this is where pressed flowers meet creativity—and where the process becomes even more meaningful.
1) Single Stem Design
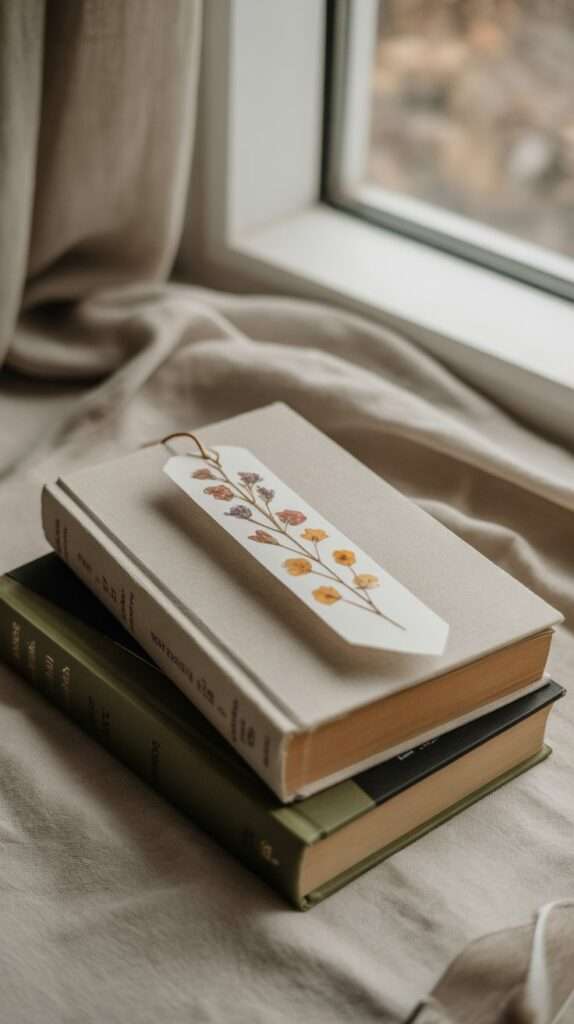
2) Mini Bouquet
3) Corner Floral Layout
4) Border-Style Arrangement
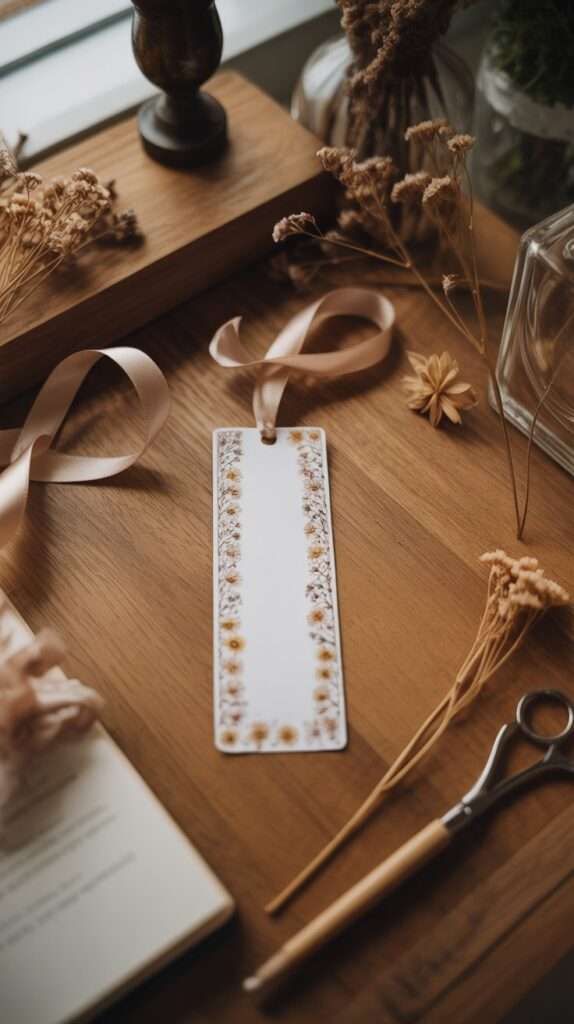
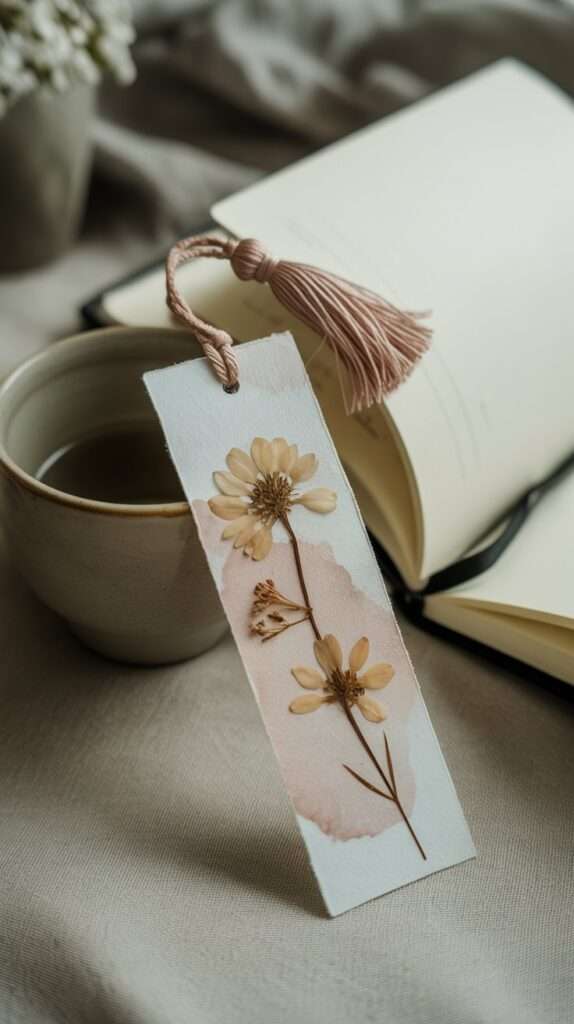
Adding Finishing Touches
This is the fun part — the details that make your bookmark feel special. Punch a hole at the top and add a ribbon or thin twine for a cottagecore look. If you like a more modern finish, leave it clean and simple. You can also edge the bookmark with gold paint or add a tiny handwritten quote along the bottom. Little touches like that make it gift-worthy.
Why This Project Is Worth Making
Pressed flower bookmarks are one of those crafts that feel small but meaningful. They make beautiful gifts for friends, teachers, and book lovers, and they’re perfect for selling at craft fairs or adding to your Etsy shop. More than anything, they’re relaxing. Something about arranging flowers on paper feels grounding — like you paused the world for a moment.
Be sure to check out my full guide on pressed flower crafts. That’s where I dive into lots of project ideas and step-by-step tutorials.