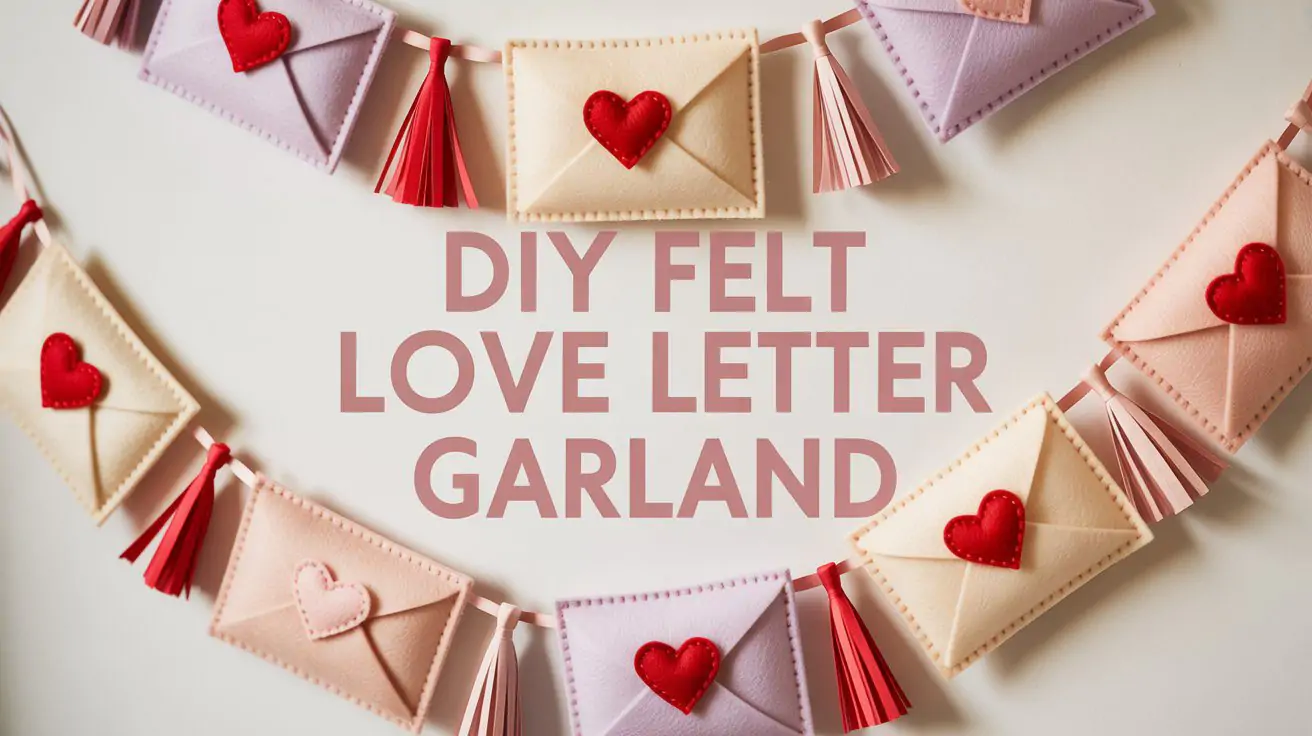
Valentine’s Day is one of my favorite moments to slow down and create something by hand. I love decorations that feel personal — not store-bought — and this DIY felt love letter garland is exactly that kind of project. Soft colors, simple hand stitching, and tiny heart details come together to create a cozy, meaningful Valentine decoration.
This is a beginner-friendly DIY that doesn’t require a sewing machine and looks beautiful hanging on a wall, shelf, mantel, or even above a bed. It’s also a lovely idea if you enjoy handmade Valentine decor that can be reused year after year.
Supplies
- Felt sheets (cream, pink, red, lilac, or other soft tones)
- Embroidery thread (matching or contrasting colors)
- Hand sewing needle
- Scissors
- Soft cord, cotton tape, or a felt strip (for the garland base)
- Pencil or fabric chalk
Optional:
- Extra small felt hearts for decoration
No glue is needed — simple hand stitching gives this garland its cozy, handmade look.
Finished Size
Finished Size:
- Each felt envelope: approximately 3.5″ x 2.5″ (9 x 6.5 cm)
- Garland length: adjustable (6 to 8 envelopes work beautifully)
Adjust measurements as needed to fit your space.
Cutting Measurements
Cutting Measurements:
- Cut 2 envelope pieces per felt letter
- Cut 1 small felt heart for each envelope
- Cut extra tiny hearts to place between envelopes on the garland
Seam allowance is not required — stitch close to the edge for a decorative finish.
If you enjoy simple handmade projects like this one, you may also love these 15 easy and cute Valentine’s Day crafts Ideasthat are perfect for decorating your home or making with kids.
Step-by-Step Instructions
1. Cut the felt envelopes
Draw a simple envelope shape on felt and cut it out. Keep the edges slightly rounded to maintain a soft, handmade feel.
2. Add decorative stitching
Using embroidery thread, stitch along the edges of each envelope piece with a simple running stitch or backstitch. The visible stitching is part of what makes this project feel warm and handmade.
3. Attach the heart detail
Sew a small felt heart onto the center of each envelope flap. You can use matching thread for a subtle look or a contrasting color to make it stand out.
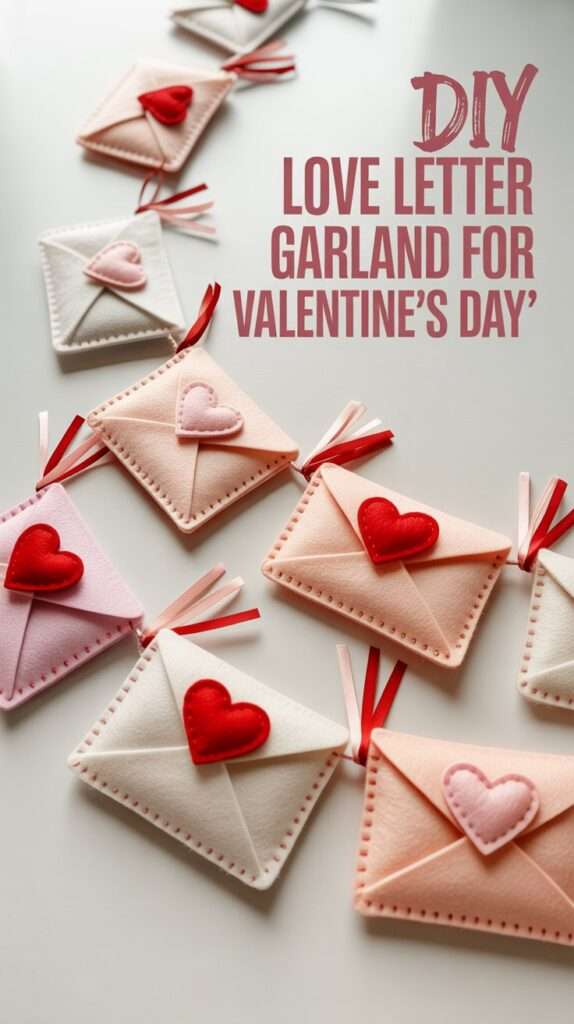
4. Assemble the envelopes
Place two envelope pieces together and stitch around the sides and bottom, leaving the top open like a real envelope.
5. Create the garland
Lay your envelopes along the cord or felt strip. Sew them directly onto the base, spacing them evenly. Add tiny felt hearts between envelopes if you’d like extra detail.
6. Adjust and hang
Once finished, adjust the spacing and hang your garland wherever you want to add a soft Valentine touch.
Tips & Variations
- Use neutral felt tones for a minimalist Valentine look
- Mix soft pastels for a cozy, romantic style
- Add initials, names, or short words using embroidery
- Make a shorter version as a handmade Valentine gift
- Change colors each year to reuse the same idea
Why I Love This DIY
What I love most about this project is how simple it is, yet how special it feels. There’s something really comforting about hand stitching and working with soft felt. It’s an easy way to slow down, enjoy the process, and create Valentine decor that feels personal and full of heart.