Why Oil Painting Still Feels Magical
There’s a reason why museums are full of oil paintings—they last for centuries, the colors stay vibrant, and the textures feel alive. A lot of beginners think oil painting is intimidating, but here’s the secret: with the right oil paints, brushes, and mediums, you can get stunning results without being a pro. Oil paints dry slowly, which means you have time to play, layer, and fix mistakes. That’s what makes them so beginner-friendly.
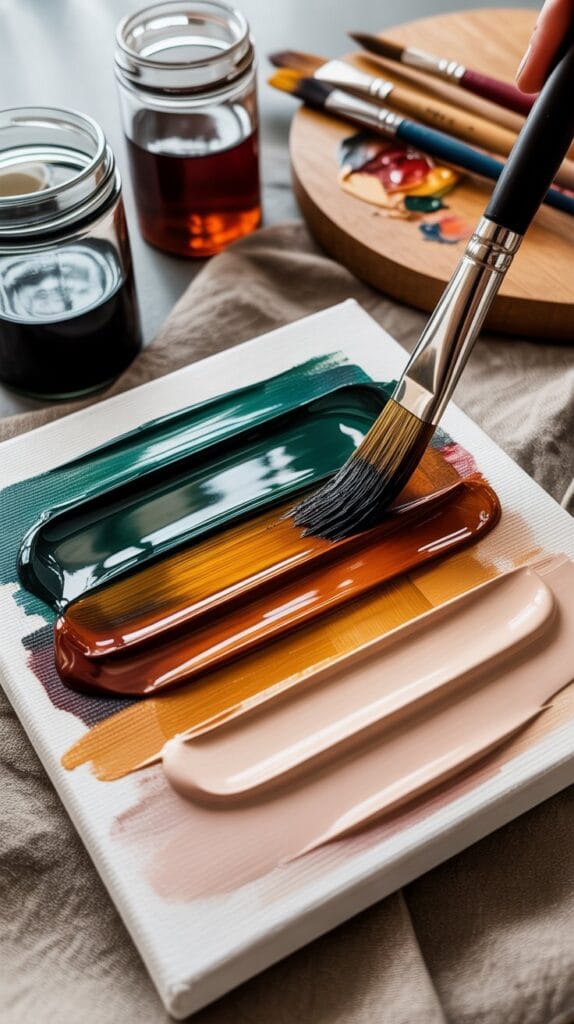
Essential Supplies for Oil Painting
- Oil Paints: Start with a beginner set of 10–12 colors. Look for brands labeled “student grade” if you want budget-friendly options.
- Brushes: Hog bristle brushes are classic for oils because they’re strong enough for thick paint. Flat and round brushes cover most techniques.
- Mediums: Linseed oil, turpentine, or odorless mineral spirits help thin the paint and speed drying.
- Palette: Wood or glass palettes are easier to clean than plastic.
- Canvas or Canvas Board: Oils need primed surfaces (look for gesso-primed).
💡 Pro Tip: If you want easy cleanup, check out water-mixable oil paints. They act like traditional oils but clean up with water instead of solvents.
12 Oil Painting Techniques to Try
1) Underpainting
Create a monochrome sketch layer before adding color. This helps plan composition and values.
Step by Step: Thin burnt umber with mineral spirits. Block in shadows and shapes. Let dry before layering colors.
2) Glazing
Make colors glow with translucent layers.
Step by Step: Mix paint with linseed oil until transparent. Apply thin glaze over dry paint. Repeat with different hues for luminous depth.
3) Wet-on-Wet (Alla Prima)
The secret to bold, expressive strokes.
Step by Step: Apply wet paint directly on top of wet layers. Blend edges with brush or palette knife. Great for fast, spontaneous paintings.
4) Impasto
Thick, textured strokes that stand off the canvas.
Step by Step: Load brush or palette knife with paint. Apply in heavy layers. Don’t overblend—let the texture show.
5) Dry Brush
For scratchy, textured details.
Step by Step: Dip brush lightly in paint, wipe most off. Drag across canvas so only top texture catches paint.
6) Scumbling
Soft hazy effects.
Step by Step: Apply thin, broken layer of lighter paint over darker dry layer. Let bottom layer peek through. Great for clouds and atmosphere.
7) Grisaille
Old master technique with grayscale base.
Step by Step: Paint entire scene in shades of gray. Once dry, glaze with color layers. This creates strong depth and realism.
8) Palette Knife Painting
Bold, dramatic, and beginner-friendly.
Step by Step: Scoop paint with knife, spread like frosting. Overlap colors for natural blends. Creates striking modern abstract art.
9) Chiaroscuro
Play with light and shadow like the Renaissance painters.
Step by Step: Use dark background, highlight only parts of subject with strong light. Build contrast in layers.
10) Sfumato
Inspired by Leonardo da Vinci.
Step by Step: Blend edges so transitions are invisible. Use soft brush and thin glazes for smoky effect.
11) Pointillism with Oils
Dots of color that blend from a distance.
Step by Step: Use small round brush to dab pure colors side by side. Let viewer’s eye do the mixing.
12) Blending with Fingers
Yes, it’s allowed.
Step by Step: Use gloves or barrier cream. Dab paint directly with fingertip to soften edges or create smooth gradients.
Common Beginner Mistakes in Oil Painting
- Applying paint too thick too soon → follow the “fat over lean” rule (each new layer should have more oil than the last).
- Using too much solvent → thins paint too much and cracks later.
- Not letting layers dry → patience is key. Oils take days or even weeks.
- Ignoring ventilation → always work in a space with airflow when using solvents.
Final Thoughts
Oil painting doesn’t have to feel intimidating. These oil painting techniques prove you can get professional-looking results while still learning. From wet-on-wet alla prima to glowing glazes, every technique helps you discover the richness oils offer. So grab a starter kit, prep your canvas, and take it one layer at a time—you might just create something timeless.