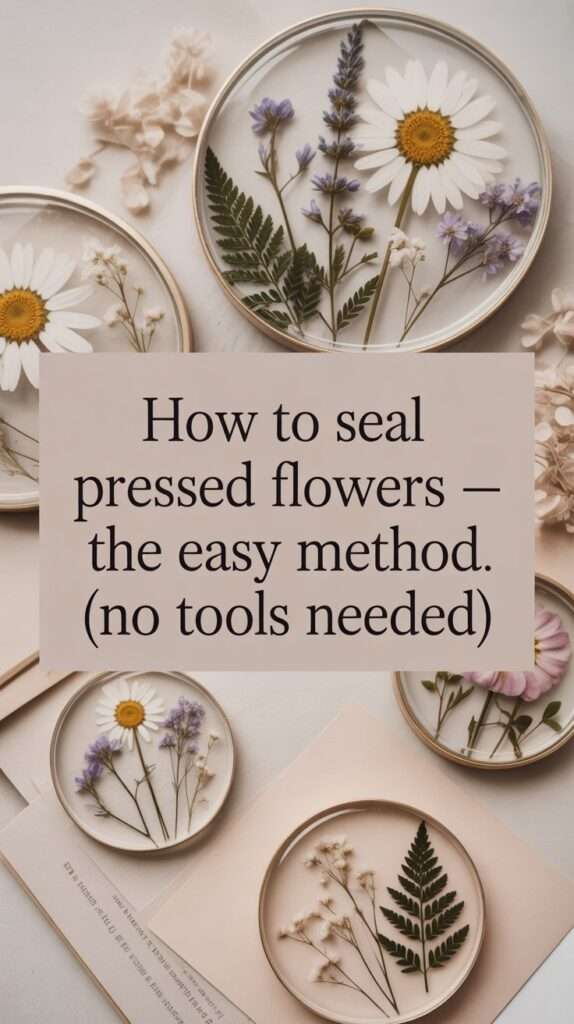
If you’ve ever pressed a flower and thought, “Wow… this is too pretty to lose,” you’re in the right place. Sealing your pressed flowers is what takes them from fragile little memories to long-lasting art you can frame, gift, or turn into stunning DIY decor. And the good news? You’ve got options. Three of them, actually — resin, glue, and spray. Each one creates a different look, and each one works better for a specific type of project.
This website contains affiliate links, which means I may earn a commission at no extra cost to you if you make a purchase through these links. As an Amazon Associate, I earn from qualifying purchases. All opinions expressed are my own.
Let’s walk through them in the simplest way possible so you know exactly which method to use.
1. Resin (for glossy, durable pieces)
If you want your pressed flowers to last practically forever, resin is your go-to. It gives you that glass-like shine that looks like something you bought in a boutique gift shop.
Here’s the vibe:
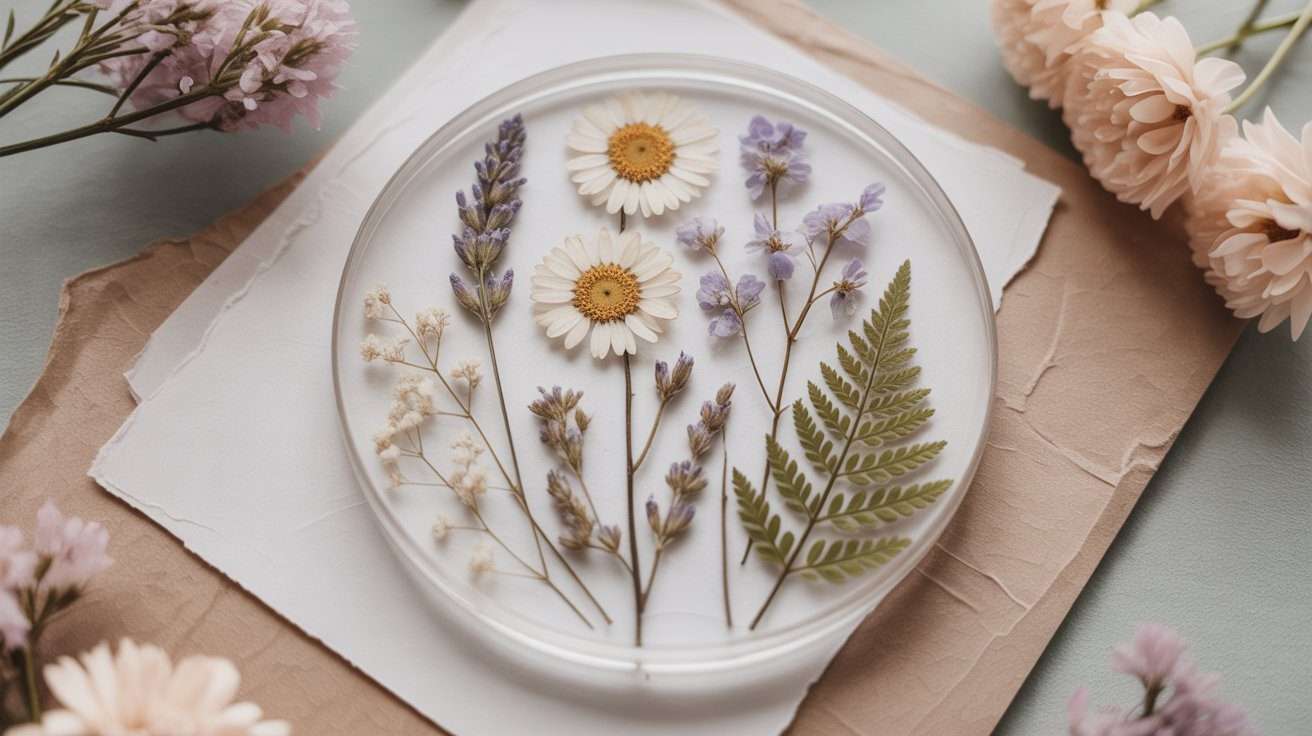
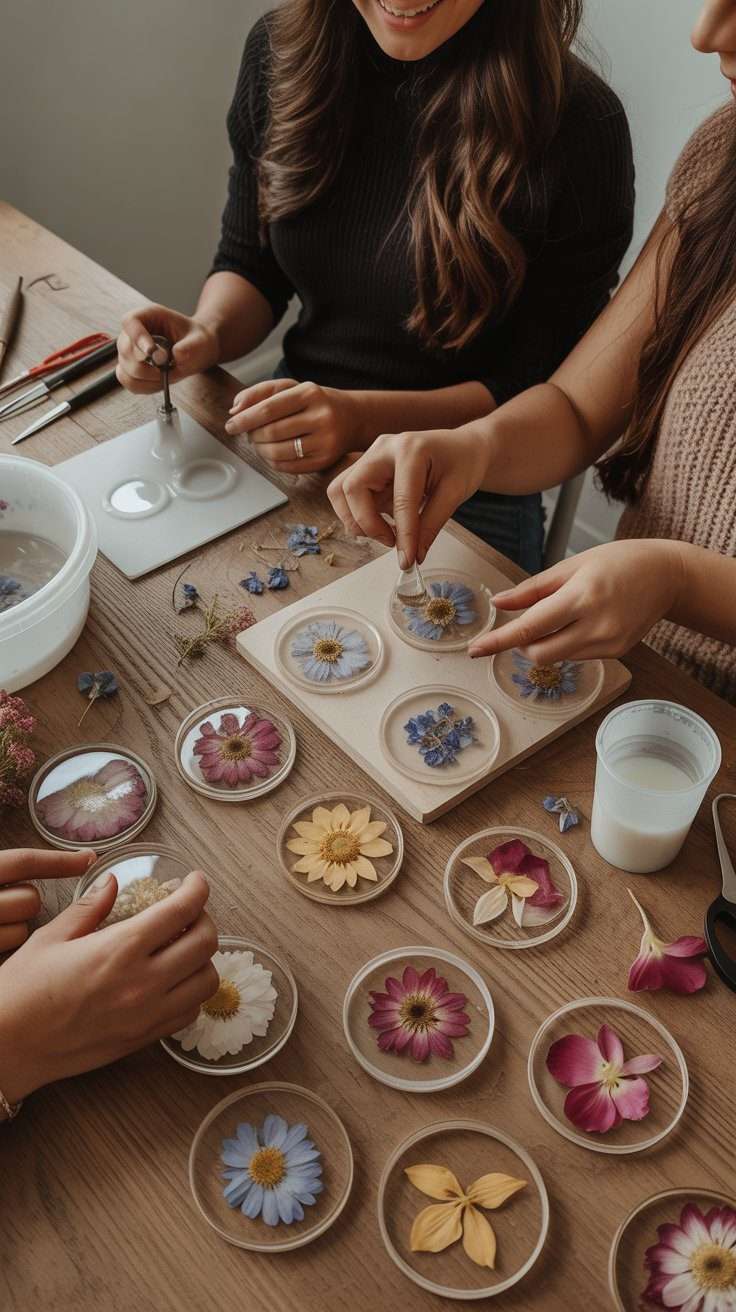
You mix the resin, pour a thin layer into your mold or tray, place your pressed flowers gently on top (tweezers help a LOT), then cover with another thin layer. Resin traps the flowers in place and keeps their color beautifully.
Perfect for:
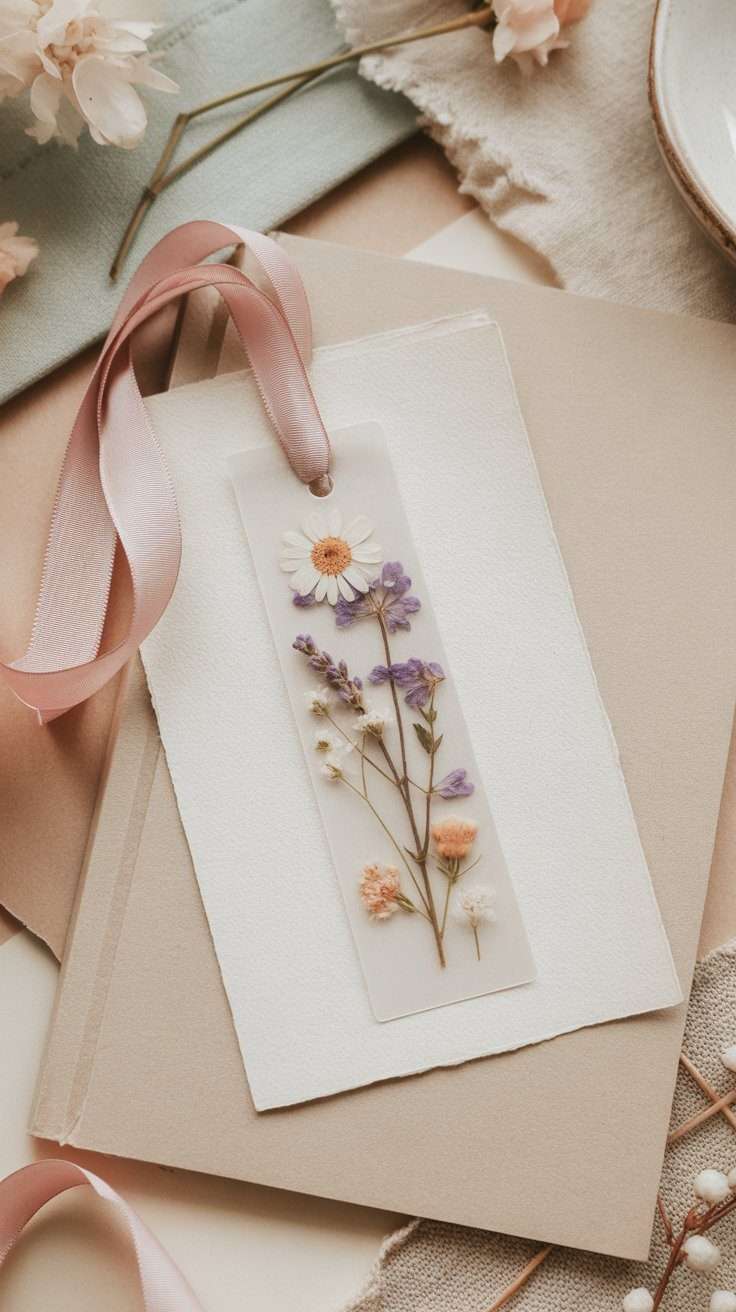
– bookmarks
– keychains
– coasters
– jewelry
– decorative trays
Helpful supplies for sealing pressed flowers with resin
If you want to try this method, a few basic tools can make the process much easier and less messy.
- resin kit
- silicone molds for bookmarks, coasters, or jewelry
- fine-tip tweezers for placing flowers
- mixing cups and stir sticks
- gloves for easy cleanup
- a small craft mat to protect your table
A good resin setup does not need to be complicated, but having the right supplies makes it much easier to get that smooth, glossy finish.
It takes a little patience (resin cures overnight), but the results are stunning.
2. Glue (for paper crafts + framed art)
This is the easiest, most beginner-friendly method. If you’re making cards, journals, scrapbooking pages, or framing flowers under glass, glue is all you need.
Tip from experience:
Use a thin glue, like Mod Podge or PVA diluted with water. You don’t want clumps. Brush a very light coat on your surface, place the flower carefully, and tap it flat with your fingertip. Then seal it with another light coat on top.
Perfect for:
– journals
– canvas art
– gift tags
– wall art
– bookmarks (without resin)
Helpful supplies for sealing pressed flowers with glue
If you want to try this method, these simple supplies can make the process much easier:
- Mod Podge or a thin craft glue
- soft paintbrushes for light, even coats
- fine-tip tweezers for placing flowers
- blank journals, cardstock, or gift tags
- floating frames for simple pressed flower displays
- a craft mat or scrap paper to protect your surface
This method is simple, affordable, and especially nice for paper crafts, journals, bookmarks, and framed flower projects.
Bonus: it dries matte or glossy depending on the product you choose.
Want more pressed flower ideas?
This tutorial goes hand in hand with my main guide: Pressed Flower Crafts – Easy Projects You Can Make at Home.
Click here to explore more beautiful, beginner-friendly pressed flower projects.
3. Spray Sealant (for color protection)
Spray sealant is the quiet hero of the pressed-flower world. It keeps your flowers from fading or absorbing moisture — without changing their texture too much.
Just lay your flowers flat, shake the can (important!), and spray from about 20–30 cm away. A couple of light coats is better than one heavy coat.
Perfect for:
– bouquets preserved in frames
– botanical displays
– larger flowers
– anything that needs UV protection
Helpful supplies for sealing pressed flowers with spray
If you want to use this method, these simple supplies can make the process easier and help protect your flowers better:
- clear spray sealant
- UV-resistant spray for added color protection
- fine-tip tweezers for handling delicate flowers
- a craft mat or protective paper for your work surface
- floating frames for botanical displays
- shadow boxes for larger pressed flower pieces
This method is especially useful when you want to protect pressed flowers without adding thickness or changing their natural look too much.
If you’ve ever pressed flowers and thought, “Okay… now what?” — sealing them is the answer. It’s the step that transforms your florals into keepsakes. And once you learn the method you like best, you’ll use it everywhere.
Some links in this post may be affiliate links, which means I may earn a small commission at no extra cost to you.
