If you’ve ever picked up a flower, dried it inside a book, and opened those pages weeks later just to find a soft, paper-thin little treasure… well, pressing flowers might be your new favorite hobby. It’s simple, peaceful, and honestly? A tiny bit addictive. And the best part—you don’t need fancy tools or expensive supplies to begin. Just curiosity and a few blooms.
In this guide, I’ll walk you through how to start pressing flowers at home the easy way, even if you’ve never tried it before. We’ll keep it simple, practical, and beginner-friendly. By the end, you’ll have everything you need to create your first pressed flower pieces.

1. Choose the Right Flowers (This Matters More Than You Think)
Some flowers press beautifully. Others… not so much. When you’re just starting, choose blooms that are naturally flat or thin.
Perfect flowers for beginners:
- Daisies
- Cosmos
- Hydrangea petals
- Pansies
- Baby’s breath
- Fern leaves
- Bougainvillea (dries beautifully!)
Avoid thick flowers at first—like roses or dahlias—because they take longer and may mold.
A good tip? Pick flowers early in the morning, after the dew dries. They hold color better and won’t wilt as fast.
2. Book Method: The Easiest Way to Press at Home
I know there are flower presses out there, but let’s keep things beginner-friendly. A heavy book works perfectly.
Here’s how to do it:
- Place a sheet of parchment or regular copy paper inside the book.
- Lay your flowers flat—petals open, no overlap.
- Add another sheet of paper over them.
- Close the book gently (don’t shift the flowers!).
- Add 3–5 heavier books on top.
That’s it. No heat. No special tools. Just patience.
How long does it take?
Usually 7–12 days. If the flowers are thick, check and change the paper after a few days to avoid moisture buildup.
3. Microwave Flower Pressing (If You’re Impatient Like Me)
If waiting two weeks feels impossible… you’re not alone.
Microwave pressing is fast and surprisingly good.
You’ll need:
- Microwave-safe ceramic plates
- Paper towels
- Microwave (of course)
Create a little “sandwich”:
paper towel → flower → paper towel → ceramic plate on top.
Heat in 10–15 second intervals. Check frequently.
Be careful—too much heat can brown the petals. But done right, you’ll have pressed flowers in minutes, not days.
4. Tips to Keep Your Colors Bright
Pressed flowers can fade if you’re not careful. Use these mini tricks:
- Avoid flowers already starting to wilt
- Don’t press flowers exposed to strong sun (they fade faster)
- Always dry blooms before pressing
- Add a little weight while drying to avoid curled petals
- Store pressed flowers in a cool, dark place
These small habits make a big difference.
5. What to Make With Your First Pressed Flowers
Once your flowers are pressed, the fun begins. You can:
- Decorate bookmarks
- Make aesthetic wall art
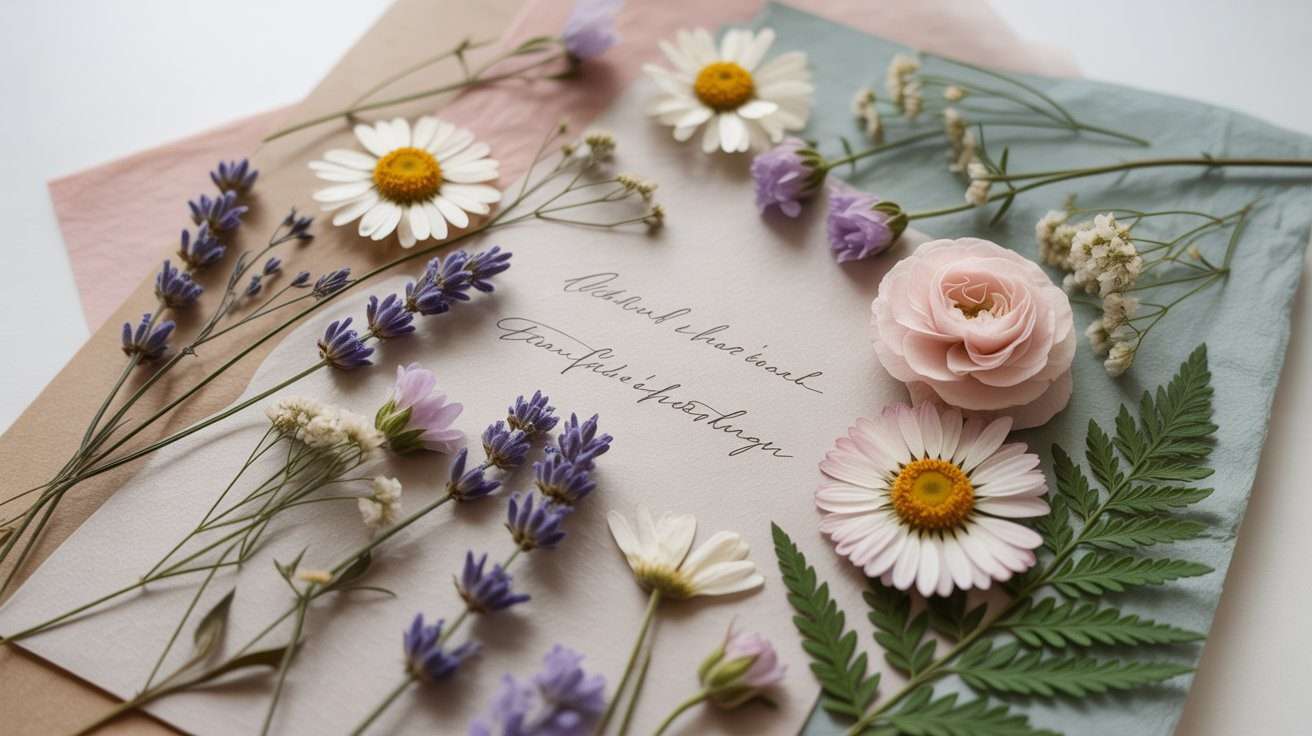
- Create greeting cards
- Upgrade your journals
- Add flowers into resin projects
- Frame florals for a cozy cottagecore look
If you love the look of pressed flowers but your petals keep turning brown, curling, or falling apart, this little guide is for you. In this mini tutorial, I’ll walk you through a simple, beginner-friendly way to press flowers so they stay flat, colorful, and ready for all your DIY projects.
And when you’re ready to turn those petals into beautiful home decor, bookmarks, and gifts, be sure to check out my full guide on pressed flower crafts. That’s where I dive into lots of project ideas and step-by-step tutorials.
Final Thoughts
Pressing flowers is one of those hobbies that invites you to slow down. You pick, you press, you wait—and then one day you open a book and find a tiny piece of nature preserved forever. It’s charming, it’s simple, and it’s honestly good for the soul.
Start small, have fun, experiment, and soon you’ll have your own little collection of pressed florals for beautiful crafts.