
Fall always inspires me to bring more natural textures and warm colors into my home, and pine cones are one of my favorite materials to use. They are affordable, easy to collect, and can be transformed into beautiful decorations using paint, felt, ribbon, wood slices, and a few simple craft supplies.
These creative fall pine cone crafts are perfect for decorating a cozy mantel, creating handmade gifts, or enjoying a relaxing autumn craft afternoon. I included a mix of rustic, colorful, and whimsical projects that adults and older kids can easily personalize.
1. Rustic Pine Cone Pumpkin Craft
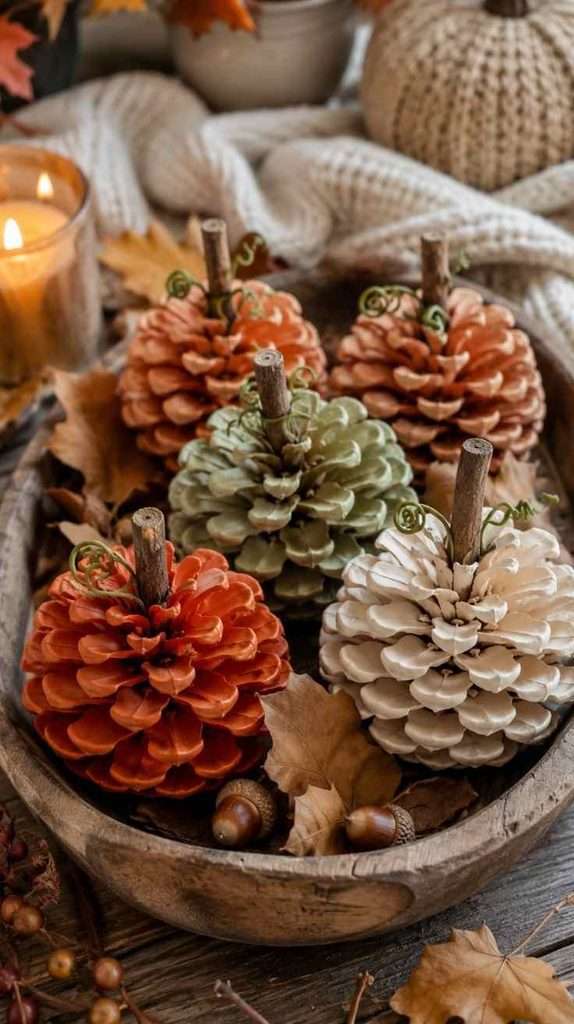
For this rustic pine cone pumpkin craft, I would paint several large pine cones in muted shades of orange, terracotta, cream, and sage green. A small twig glued to the top becomes the pumpkin stem, while curled paper or floral wire can be used to create delicate vines. I love displaying these miniature pine cone pumpkins inside a wooden bowl with dried leaves and acorns.
Materials:
- Large pine cones
- Acrylic paint
- Paintbrushes
- Small twigs
- Green floral wire
- Hot glue
How to make it:
- Clean and dry the pine cones.
- Paint each pine cone in a fall color.
- Glue a small twig to the top.
- Twist floral wire into a vine and attach it beside the stem.
2. Fall Pine Cone Flower Arrangement
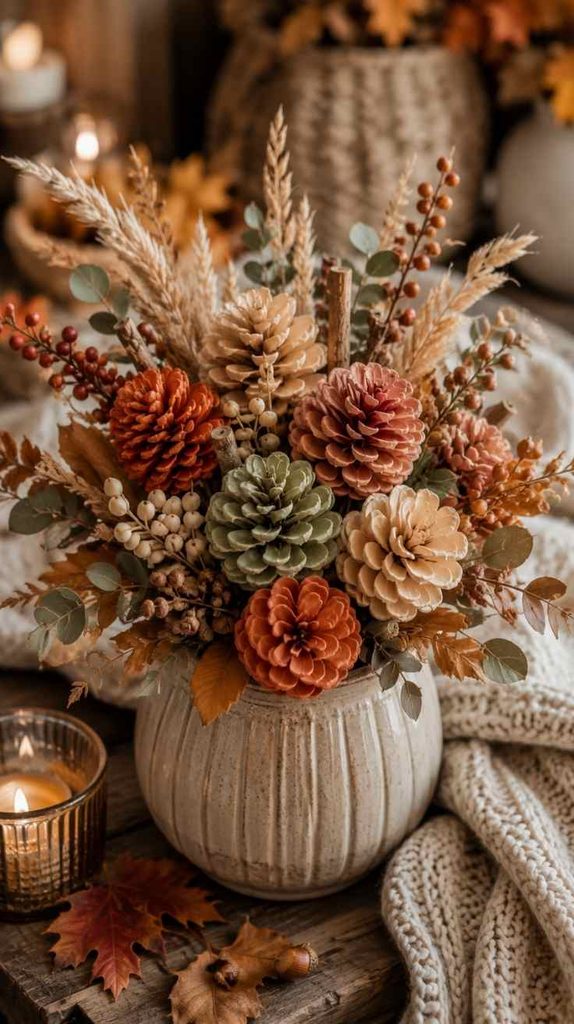
Pine cones can look surprisingly similar to flowers when they are cut or displayed with their wider side facing forward. I would paint them in soft autumn shades and arrange them with dried grasses, eucalyptus, berry branches, and wooden leaves inside a ceramic vase. This fall pine cone flower arrangement would look beautiful as a dining table centerpiece or entryway decoration.
Materials:
- Pine cones
- Acrylic paint
- Dried grasses
- Faux eucalyptus
- Berry stems
- Vase or basket
- Floral foam
How to make it:
- Paint the pine cones and allow them to dry.
- Attach floral wire or wooden skewers to the bottom.
- Place floral foam inside the container.
- Arrange the pine cones with dried and faux greenery.
3. Cute Pine Cone Owl Craft
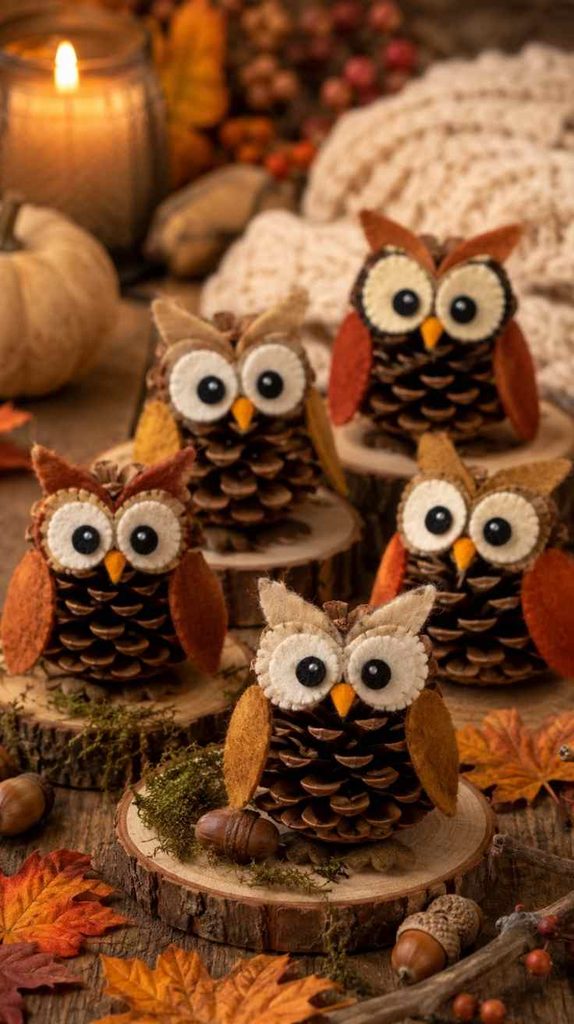
For a cute woodland-inspired project, I would turn small pine cones into tiny owls using felt wings, round eyes, and miniature beaks. Neutral colors such as cream, brown, mustard, and rust make these pine cone owls feel perfect for fall, especially when displayed on a branch or small wood slice surrounded by moss.
Materials:
- Small pine cones
- Felt sheets
- Craft eyes
- Scissors
- Hot glue
- Small wood slices
- Faux moss
How to make it:
- Cut wings, eye circles, and a small beak from felt.
- Glue the felt pieces onto the pine cone.
- Add the craft eyes.
- Attach the owl to a wood slice and decorate with moss.
4. Pine Cone Fall Garland with Wooden Beads
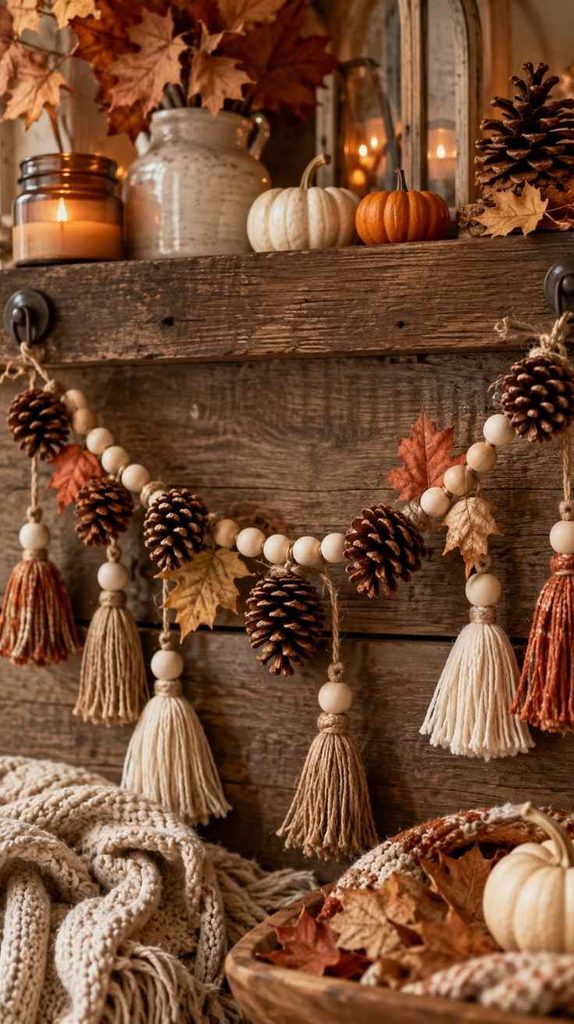
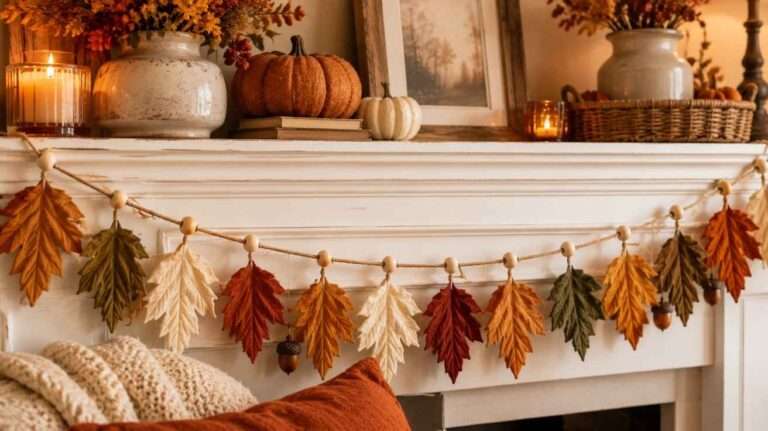
A pine cone fall garland is an easy way to decorate a mantel, shelf, or cozy reading corner without making the space feel cluttered. I would alternate natural pine cones with unfinished wooden beads, small fabric tassels, and a few rust-colored leaves, attaching everything to thick jute twine for a warm farmhouse-inspired finish.
Materials:
- Small pine cones
- Wooden beads
- Jute twine
- Fabric tassels
- Faux fall leaves
- Hot glue
How to make it:
- Cut the twine to the desired length.
- Thread the wooden beads onto the twine.
- Tie or glue the pine cones between the beads.
- Add tassels and small fall leaves throughout the garland.
5. Colorful Pine Cone Mushrooms
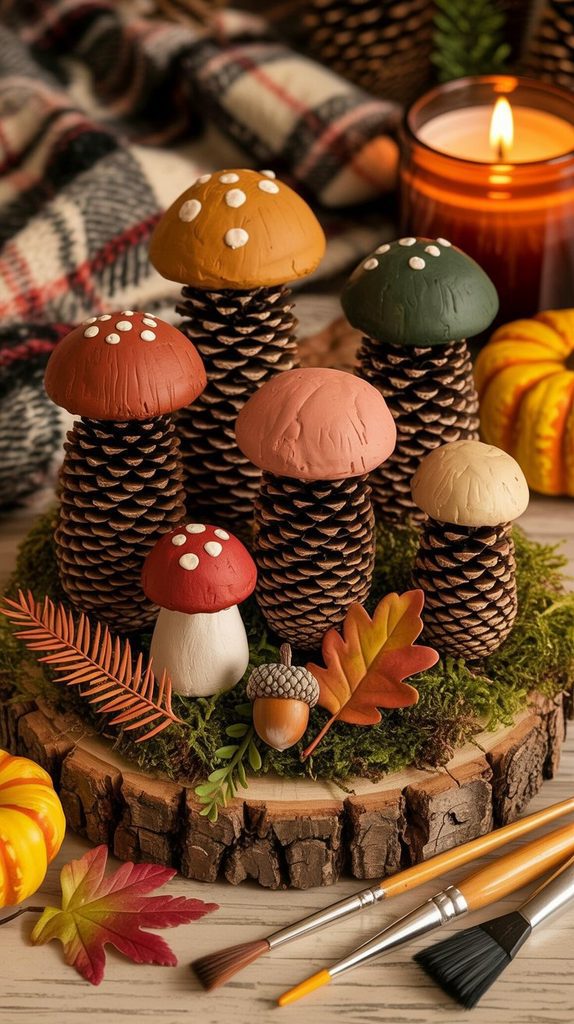
These colorful pine cone mushrooms would add a playful woodland touch to fall shelves, tiered trays, and seasonal displays. I would use the pine cone as the textured mushroom stem and attach a painted wooden or air-dry clay cap in shades of terracotta, mustard, dusty pink, or deep green. Small white dots and faux moss complete the whimsical forest look.
Materials:
- Pine cones
- Air-dry clay or wooden mushroom caps
- Acrylic paint
- Paintbrush
- Hot glue
- Faux moss
How to make it:
- Shape mushroom caps from clay and let them dry.
- Paint the caps in fall colors.
- Add small decorative dots.
- Glue each cap onto a pine cone and add moss around the base.
6. Elegant Gold-Tipped Pine Cone Decorations
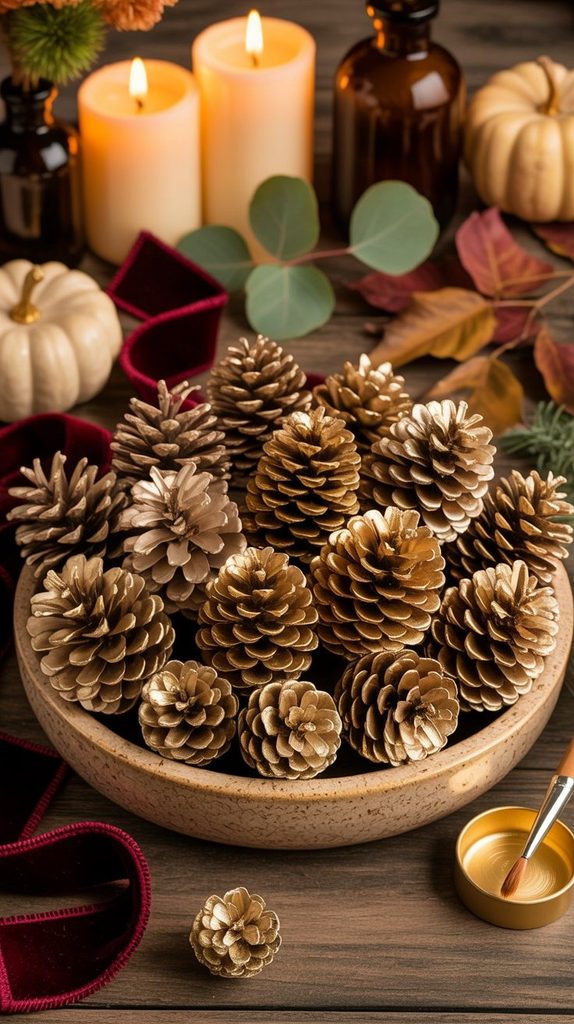
For a more elegant fall craft, I would leave most of the pine cone natural and brush metallic gold paint lightly across the tips. The subtle shimmer makes these pine cone decorations feel refined rather than overly rustic, especially when arranged with cream candles, velvet ribbon, eucalyptus, and amber glass bottles.
Materials:
- Natural pine cones
- Metallic gold paint
- Small paintbrush
- Velvet ribbon
- Optional glitter sealer
How to make it:
- Clean the pine cones carefully.
- Lightly brush gold paint over the outer tips.
- Allow the paint to dry completely.
- Tie velvet ribbon around the top or arrange the pine cones in a decorative bowl.
7. Pine Cone Turkey Craft for Thanksgiving
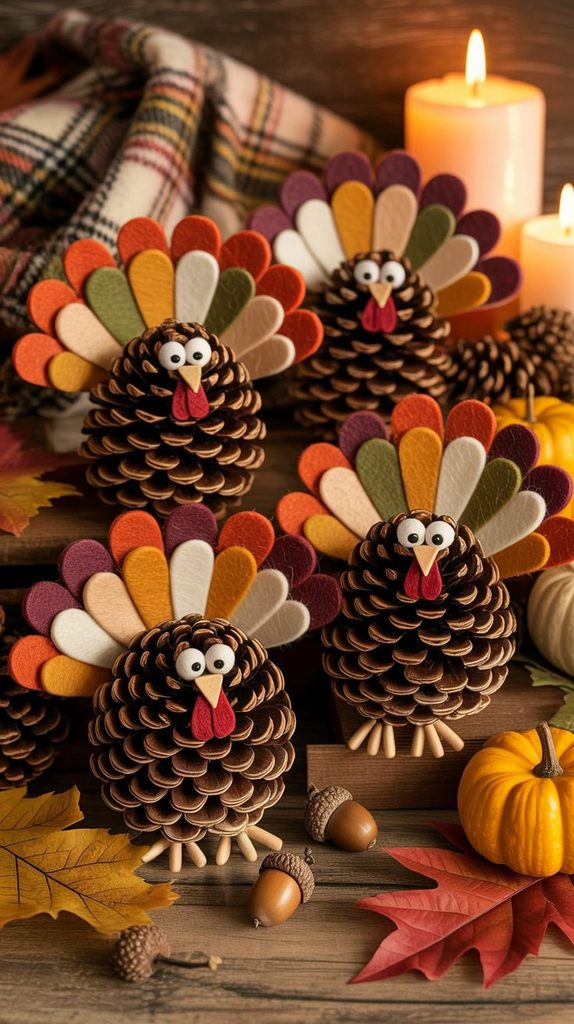
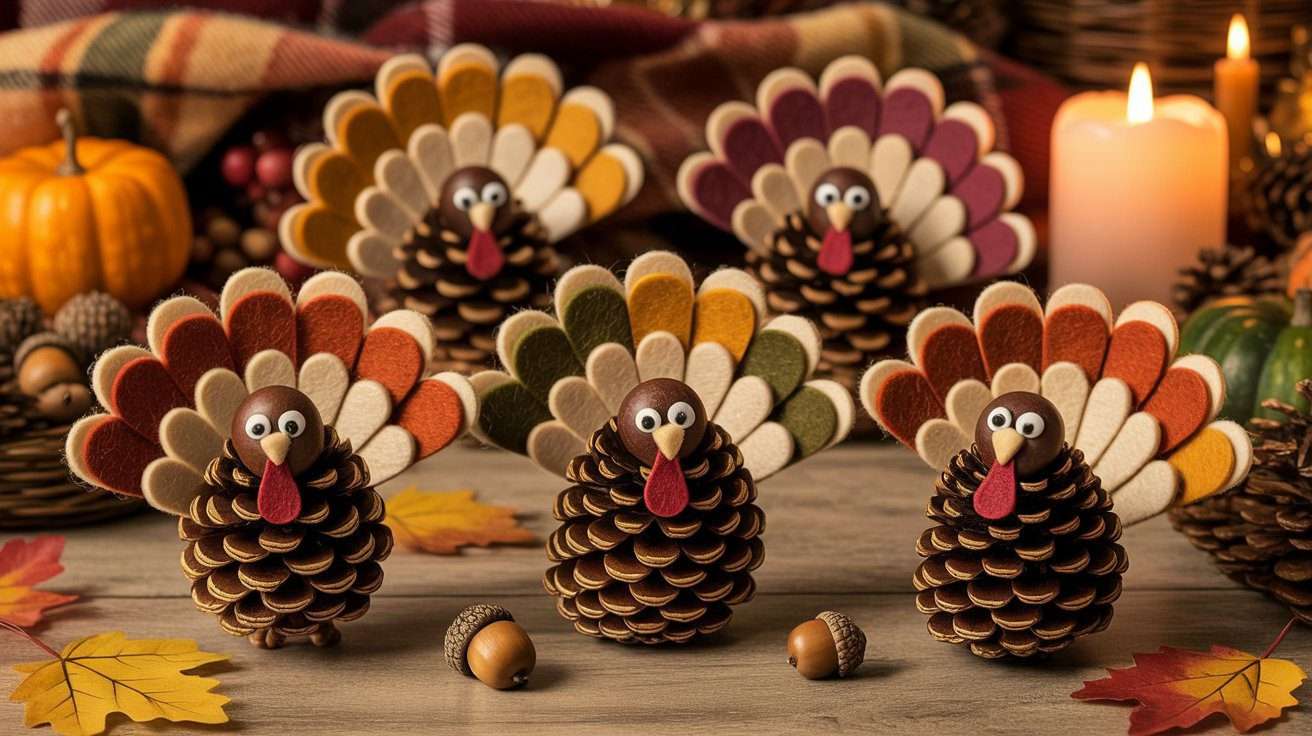
A pine cone turkey craft is a fun addition to Thanksgiving decorations and children’s fall activity tables. I would create the feathers using layered felt or patterned scrapbook paper in rust, mustard, olive green, and burgundy, then add a simple wooden bead head and a small felt beak to give each turkey its own personality.
Materials:
- Pine cones
- Felt or scrapbook paper
- Wooden beads
- Craft eyes
- Scissors
- Hot glue
How to make it:
- Cut several feather shapes in different colors.
- Layer and glue the feathers behind the pine cone.
- Attach a wooden bead to create the head.
- Add eyes, a beak, and a small felt wattle.
8. Pine Cone Candle Holder Centerpiece
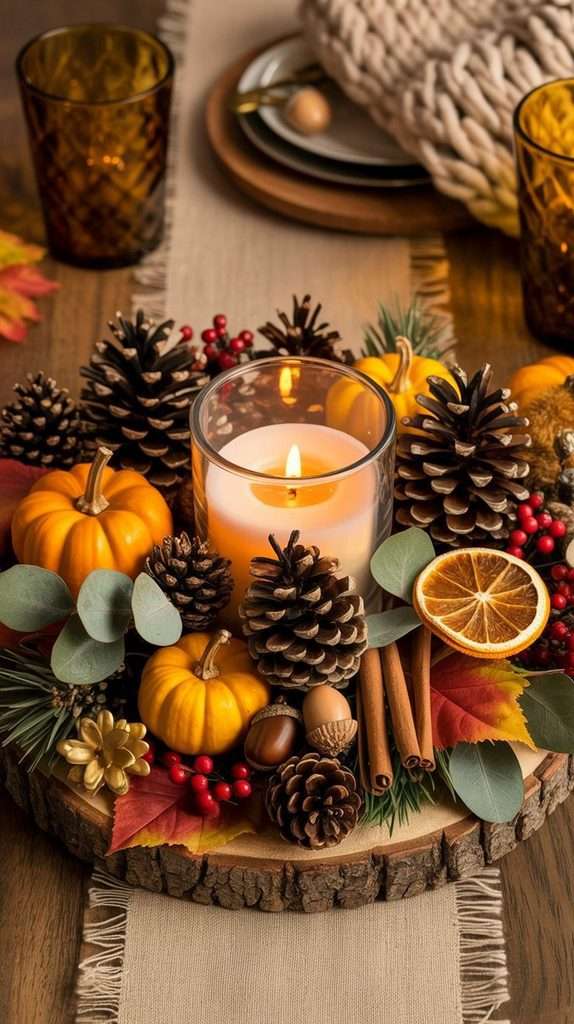
For a cozy fall table centerpiece, I would arrange pine cones around a glass candle holder using a wooden tray or shallow bowl as the base. Mini pumpkins, cinnamon sticks, dried orange slices, and eucalyptus can be tucked between the pine cones, creating a warm seasonal display without placing any flammable materials too close to the candle flame.
Materials:
- Pine cones
- Glass candle holder
- Battery-operated candle
- Wooden tray
- Mini pumpkins
- Dried orange slices
- Cinnamon sticks
- Eucalyptus
How to make it:
- Place the candle holder in the center of the tray.
- Arrange pine cones around the candle.
- Fill the empty spaces with pumpkins and dried decorations.
- Use a battery-operated candle for a safer display.
9. Pine Cone Hedgehog Family
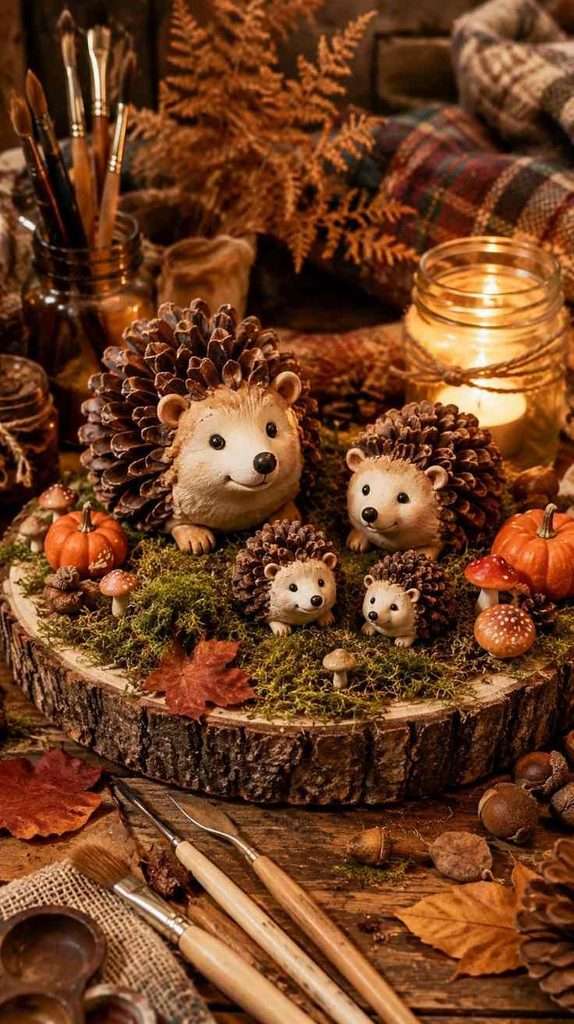
These adorable pine cone hedgehogs would be perfect for a fall woodland display or handmade seasonal gift. I would shape the face and feet from air-dry clay, keeping the colors soft and natural, then position several different-sized hedgehogs together on a wood slice with moss, tiny mushrooms, and scattered autumn leaves.
Materials:
- Pine cones in different sizes
- Air-dry clay
- Acrylic paint
- Hot glue
- Wood slice
- Faux moss
- Miniature leaves
How to make it:
- Shape the hedgehog faces and feet from clay.
- Allow the clay pieces to dry.
- Paint the nose and facial details.
- Glue the pieces to the pine cones and arrange them on a decorated wood slice.
10. Creative Pine Cone Fall Wreath
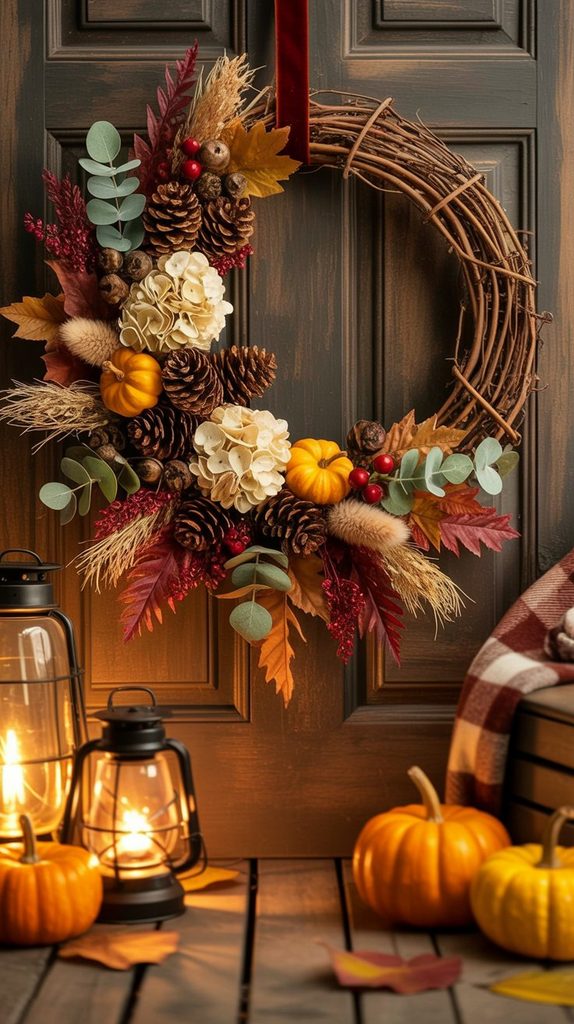
A pine cone fall wreath can become a beautiful statement piece when it includes different textures rather than only pine cones. I would attach natural and painted pine cones to a grapevine wreath, adding velvet ribbon, dried hydrangeas, eucalyptus, berries, and a few small pumpkins. Keeping the decorations slightly asymmetrical gives the finished wreath a more modern and elegant appearance.
Materials:
- Grapevine wreath base
- Pine cones
- Dried or faux flowers
- Eucalyptus stems
- Berry branches
- Mini pumpkins
- Velvet ribbon
- Floral wire
- Hot glue
How to make it:
- Arrange the largest pine cones on one side of the wreath.
- Secure them with floral wire and hot glue.
- Fill the gaps with flowers, berries, and greenery.
- Add mini pumpkins and finish with a velvet ribbon.
Some links in this post may be affiliate links, which means I may earn a small commission at no extra cost to you.